End-user / Cloud / Floating IPs
In this page, you can do as follow:
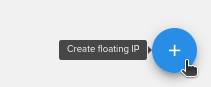
Add new floating IP
To add a floating IP key, click on the plus (+) button from the bottom right:
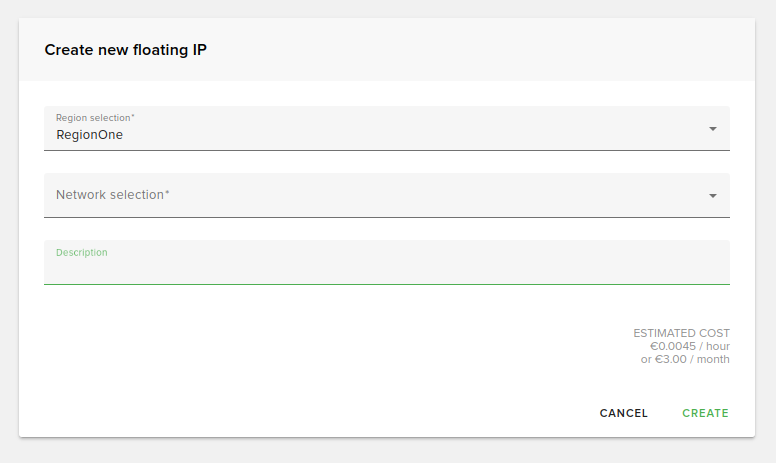
In the dialog fill out these fields:
Region selection: Select a region.
Network selection: Select an external network.
Description: Type a description for the floating IP.
Floating IPs view
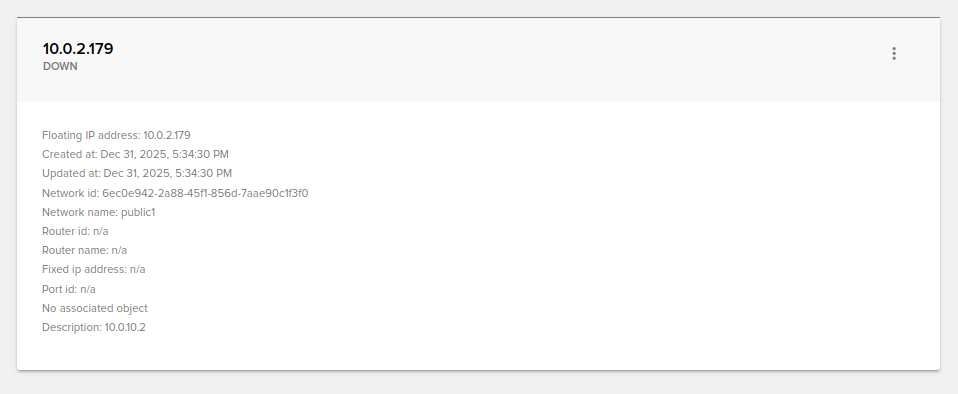
Click on a floating IP. Here you can see all the details from the floating IP.
You can switch from Card View to List View by clicking on the grid from top-right. Examples are shown below:
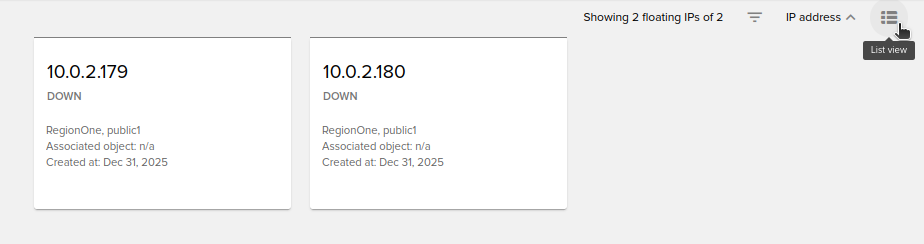
This is the card view. To switch to list view press the highlighted button:
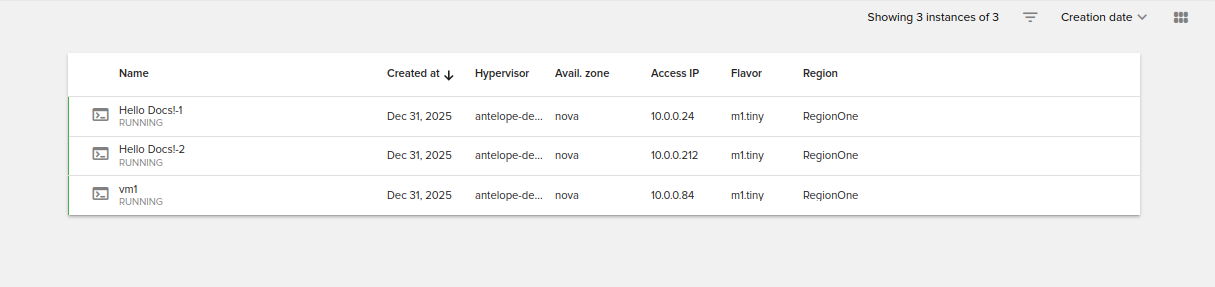
This is the list view. To switch back to card view press the highlighted button.
Filter floating IPs
From the top-right of the page, you can filter floating IPs by:
Created at
Updated at
Status
Region
Sort floating IPs
From the top-right of the page, you can sort floating IPs by:
IP address
Created at
Status
Network
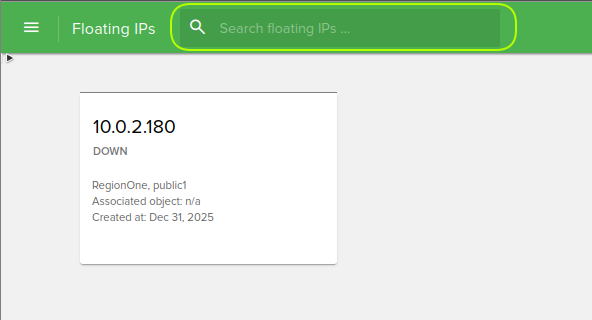
Search for a floating IP
To search a floating IP from your dashboard, type the IP in the search box from the top of the floating ip page.
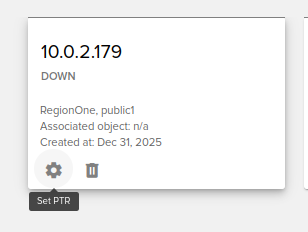
Set PTR for a floating IP
In order to configure the PTR for a floating IP, you need to click on the Set PTR button:
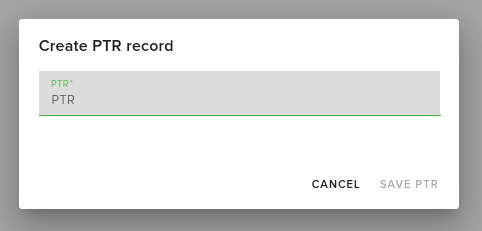
After clicking the Set PTR icon, you will need to fill out the following form:
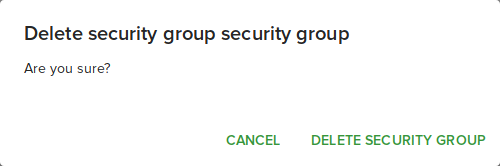
Delete a floating IP
To remove a floating IP you have to identify it in the dashboard and select Delete.