Cloud / Flavors
A flavor defines the compute, memory, and storage capacity of an instance. This will help you to create custom instances (plans) for your clients.
In this page, you can do as follow:
Create new flavor
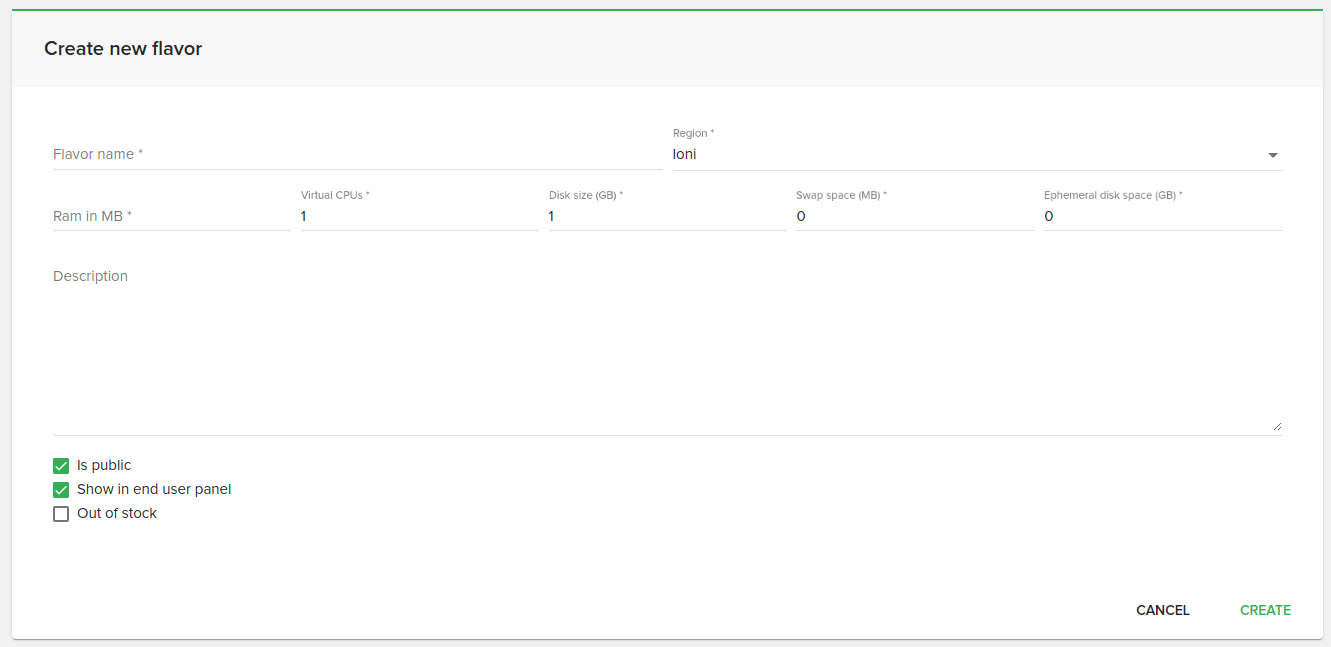
To create a new flavor click the plus (+) button from the bottom-right - “Create new flavor”.

On the next page fill in these fields:
Ram in MB: The amount of physical memory (RAM).
Virtual CPUs: The number of CPU cores.
Disk size in Gb: The amount of disk space (Gb).
Swap space in Gb: Used when the amount of physical memory (RAM) is full.
Ephemeral disk space in GB: Used for temporary files only. All data will be lost on reboot.
Is public: Public or private (flavor will not be visible to clients).
Description: A short description for your flavor.
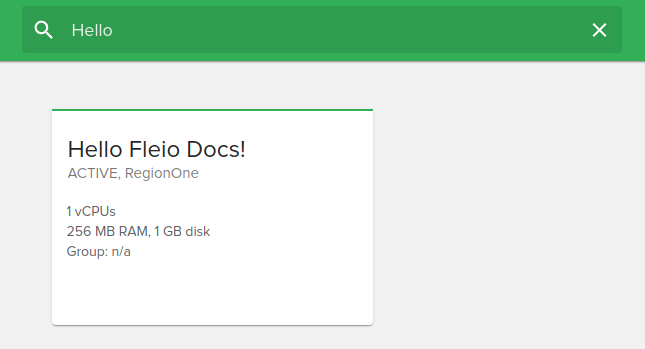
Search flavor
To search for a flavor, type the flavor name in the search box from the top page.
Sort flavors
From the top-right of the page, you can sort flavors by:
Name
Region
Virtual CPUs
Memory
Disk size
Flavors can also be filtered by:
Region
Memory MB
Root GB
vCPUs
Is public
Flavor group
Also you can switch from Card View to List View by clicking on the grid from top-right.
View flavor details
To find more details about your flavor, click on a flavor box. A new page will open and there you’ll find all details about your flavor as follow: ID, Name, Ram, Virtual CPUs, Disk space, Swap, Ephemeral storage, Disabled, Public, Region, Description, Group
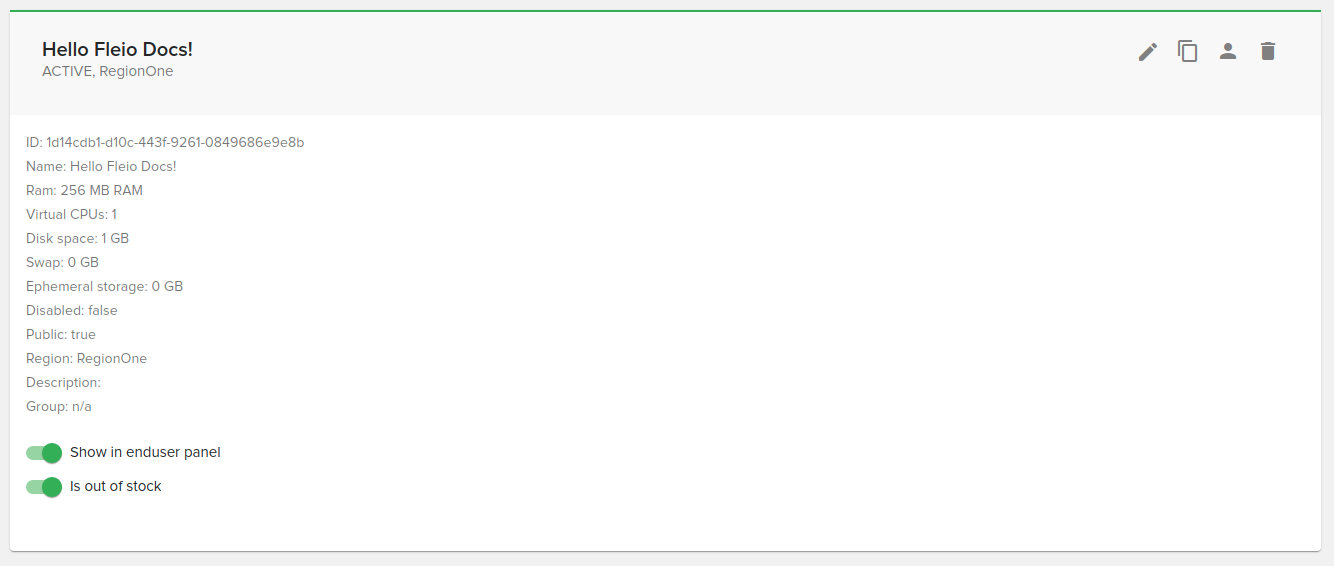
On the flavor details you can also configure if the flavor will be displayed in the enduser panel or if the flavor is out of stock.
Edit flavor
As you may know, the OpenStack API does not allow editing of flavors, so when you will edit the flavor, Fleio will basically delete and re-create it.
To edit a flavor click on the “Pen” icon in the top right corner:
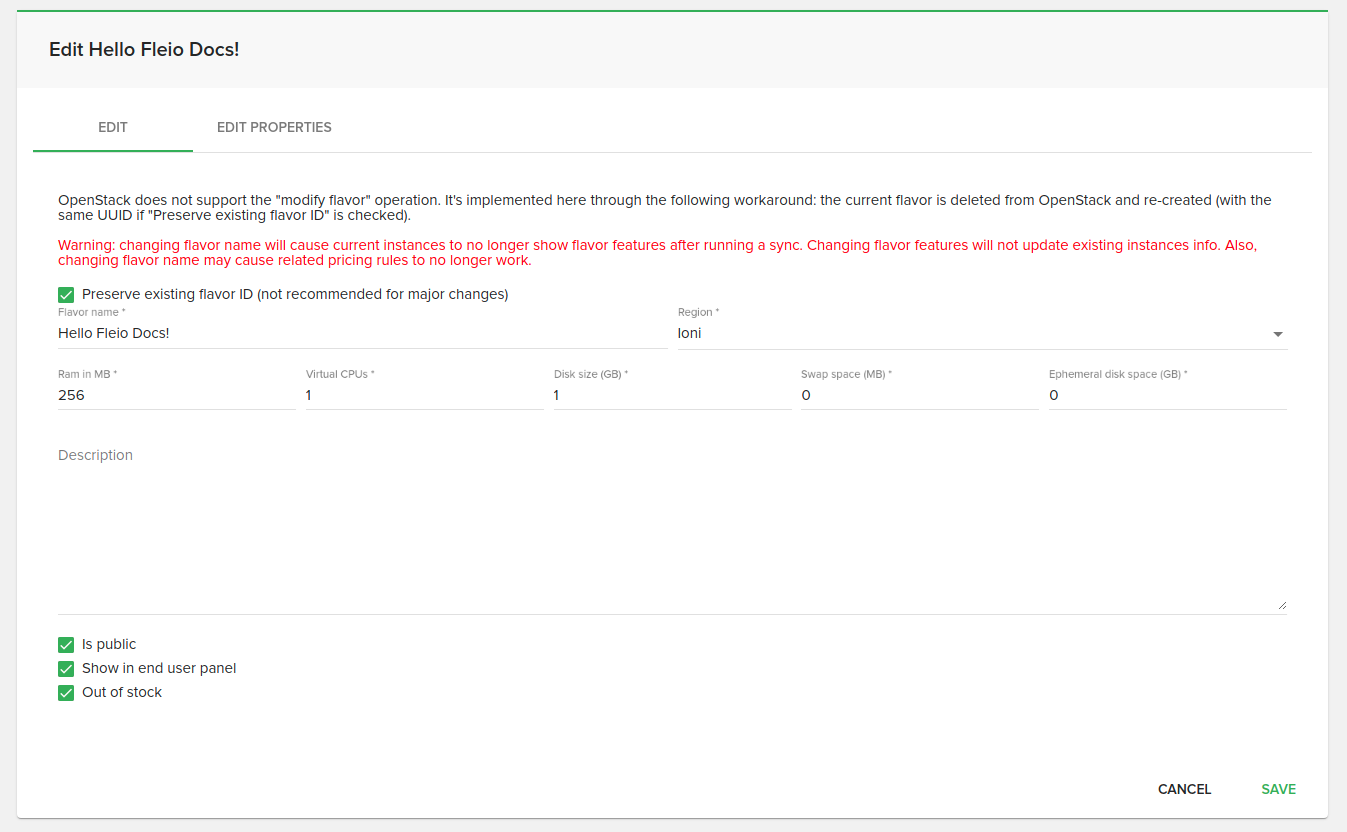
In the edit flavor form you will be able to:
preserve the existing flavor ID
make the flavor private
hide the flavor for end user panel
set the flavor as out of stock
edit flavor properties
Clone flavor
To clone the flavor you will need to click on the “clone” button in the top right corner. As you might notice, the clone option will open the create flavor form, with all the flavor details (such as ram, vCPUs, etc) already filled in.
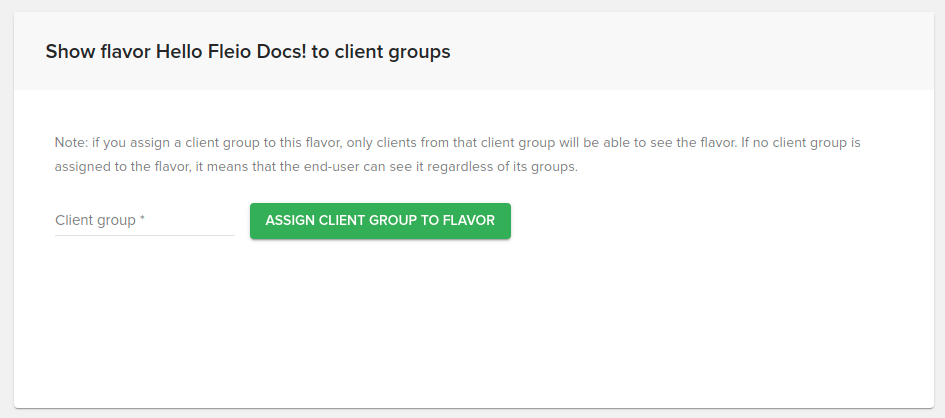
Show flavor only to client group
To show the flavor only to certain flavor groups, you will have to click on the “Show to client group” icon:
Delete flavor
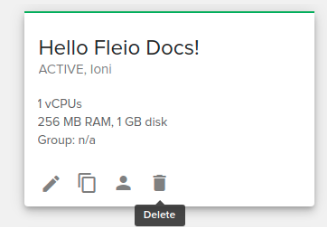
To delete a flavor click on Delete icon like in the image below.
Cloud / Flavors groups
Flavor groups were implemented for a better management and a more user friendly display when choosing flavors to create an instance. For flavor groups to be displayed in the end-user panel you will first need to switch the flavor display as cards to true in panel configuration files.
Create flavor group
To create a new flavor group you need to click on the + icon from the bottom right side of the page.
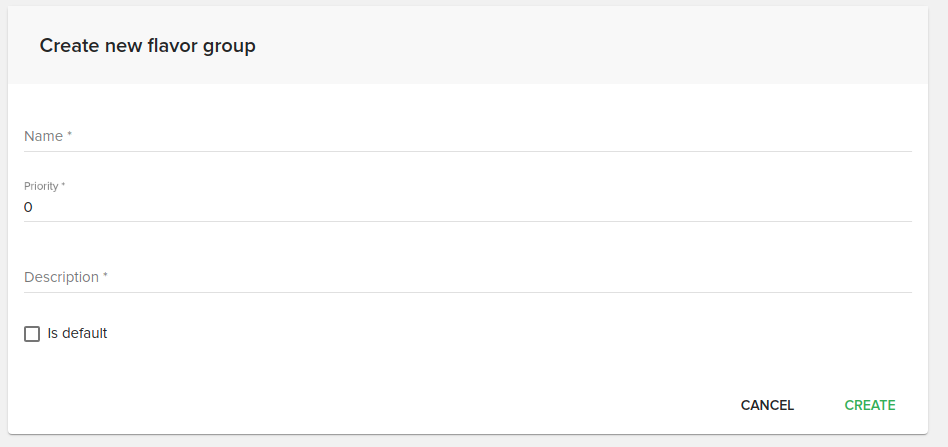
The priority is related to the position where the flavor group will be displayed.
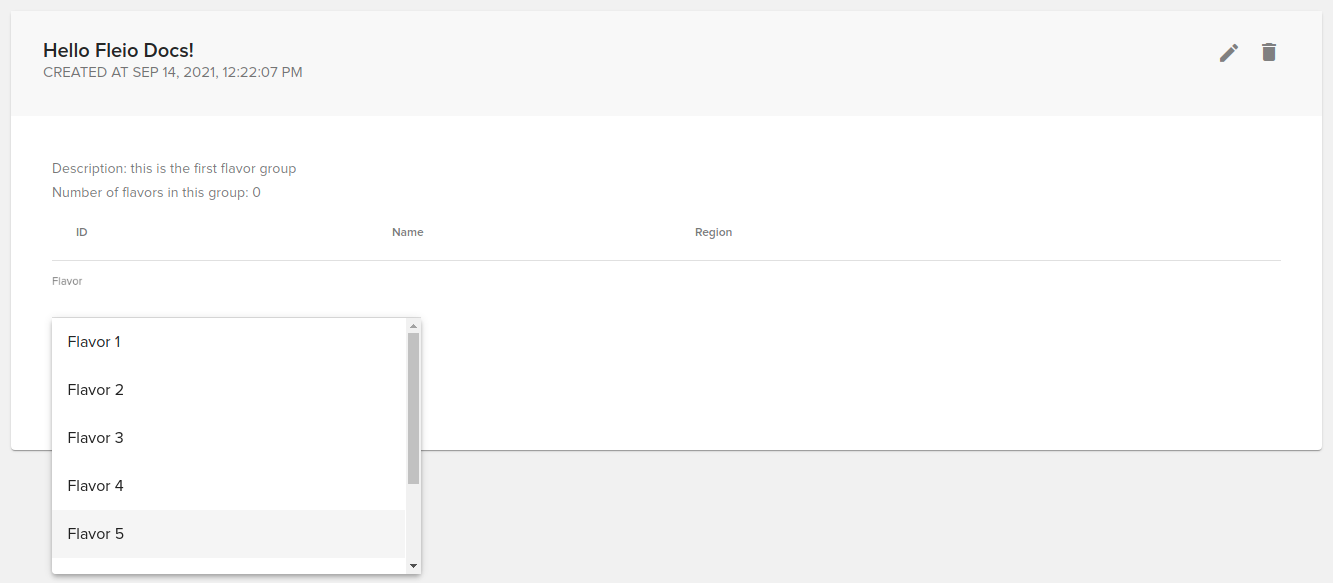
Add flavor to group
To add a flavor to a flavor group you need to select the appropriate group and select the flavor. Then you need to click on ADD FLAVOR TO GROUP
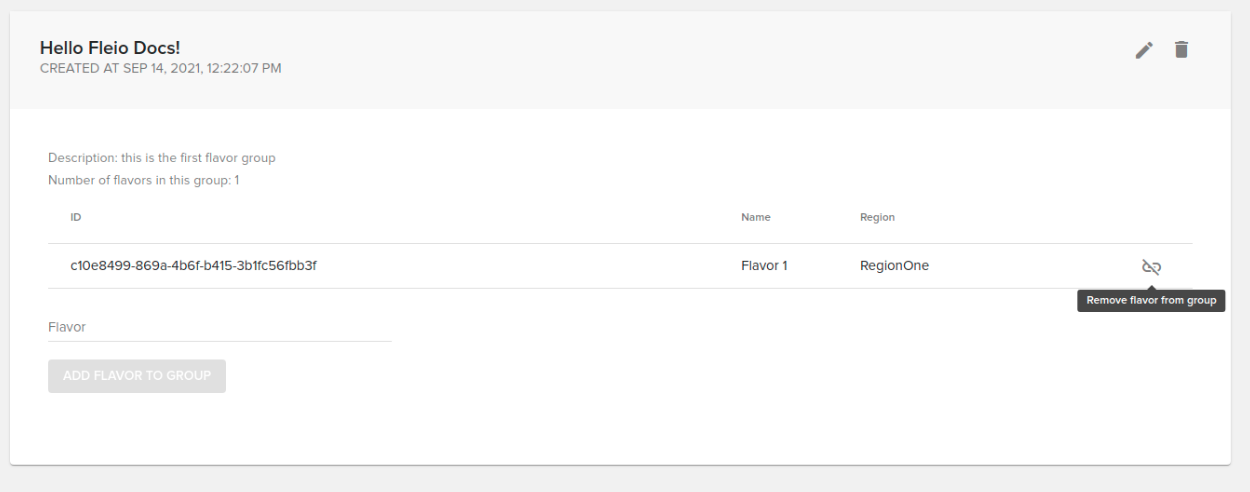
Remove flavor from group
To remove a flavor from a flavor group, you need to click on the “Remove flavor from group” button, at the end of the row:
Delete flavor group
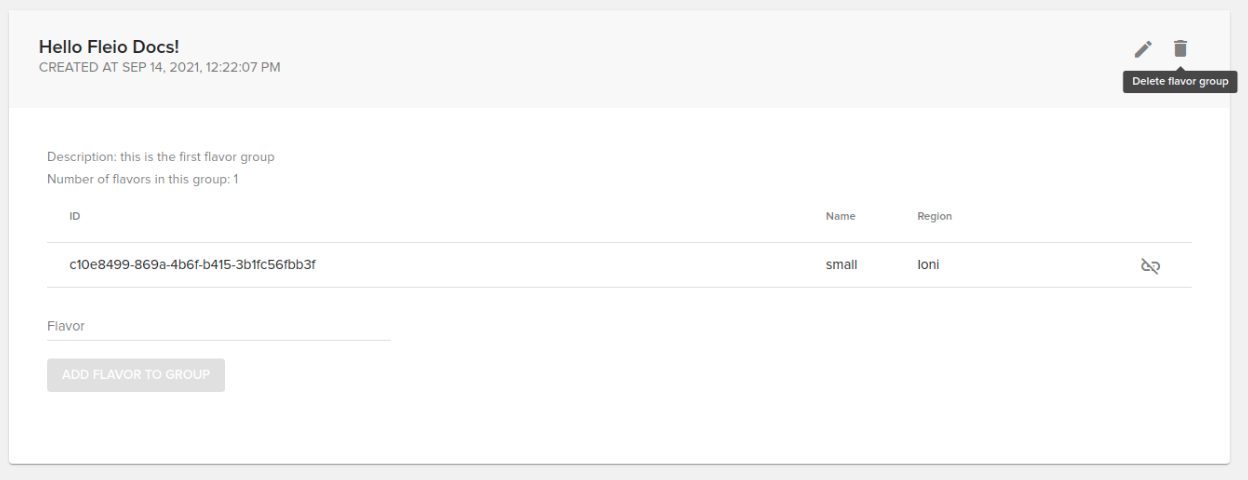
To delete a flavor group you need to press the “Bin” icon on the flavor dialog
Warning
In order to delete a flavor group you will first need to remove the flavors from that group.