Support ticket system
Note
The support ticket system is only included in Fleio Full Edition (OpenStack + Hosting Billing) and Fleio Hosting Billing Edition.
The Fleio tickets plugin adds a ticketing system, support departments and configurable signatures for staff users. Tickets can be created from the Fleio interface or automatically generated when a department receives a message on its related email. Staff can configure email notifications for ticket actions (open/close/reply) based on the associated department.
This documentation includes:
Enduser panel
Create ticket
Enduser can add a new ticket by clicking the Add ticket button from the bottom right side of the tickets page.

After clicking the button the following form will need to be submitted to create the ticket.
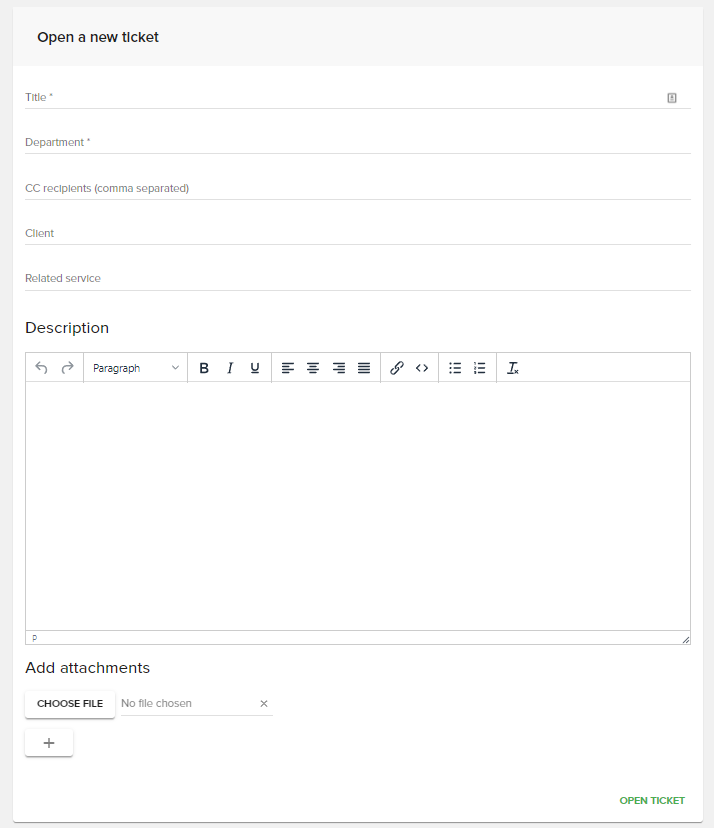
As you can see, the end-user needs to fill in some basic details. He also needs to select a department (departments can be created in the staff panel), can add CC recipients (they may receive email notifications about the ticket), and can associate a service with the ticket or may add attachment files.
Replying and managing the ticket
A typical conversation from the enduser perspective may look like this:
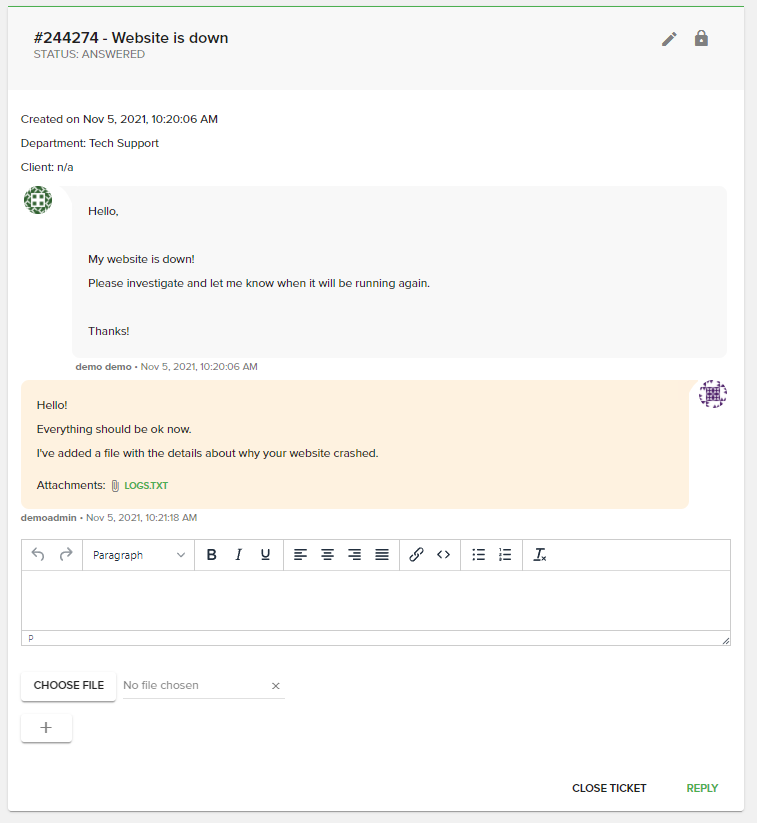
As you can see, everyone can add replies, the enduser may close the ticket by pressing the close ticket button.
Messages with attachments will have it added at the bottom of the box and clicking it will trigger a dropdown where
users can choose to either open the attachment in a new tab or download it.
Tickets list page

In the end user panel, you will be able to see all the tickets that are assigned to you.
You can also filter the tickets / change the display (list view or card view) using the action buttons from the above image.
Available filters for enduser panel:
Created at
Status
Department
You can order the tickets by:
Last reply
Created at
Status
Title
Department
Staff panel
Create ticket
As it was for enduser, if you want to create a new ticket, you will have to press the “+” button in the top bottom corner.
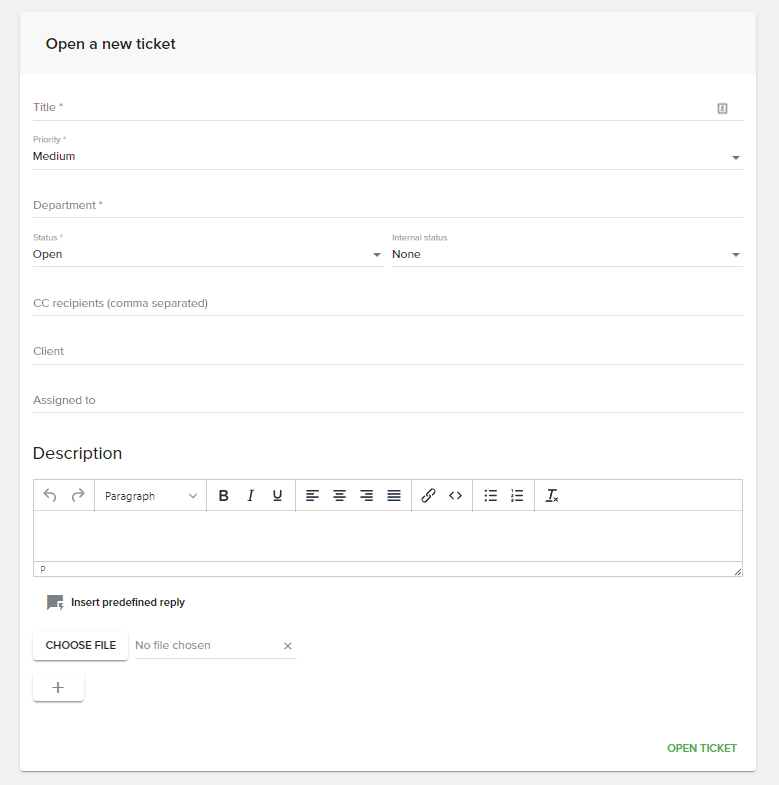
Note that the staff can also insert predefined replies.
Tickets list page

The page where tickets are listed in the staff panel automatically filters the tickets that: do not have the internal status set to done, are assigned to the logged-in user and those that have no assignee.
You can change the ordering/filtering of the tickets using the action buttons from the above image.
Available filters to user are:
Assigned to: Filter tickets by their assigned user
Created at: Filter tickets by their creation date
Internal status: Filter tickets by internal status
Status: Filter tickets by their status
Priority: Filter tickets by their priority (high/medium/low)
Client: Filter tickets by their associated client
Department: Filter tickets by their associated department
You can also order the items by: assigned to, created at, created by, internal stats/status, title, department or priority and can also display the tickets as cards or as a list (table).
Replying and managing the ticket
Same as for the Replying and managing the ticket, though the staff can also:
Add notes: a new tab just like the activity tab is available, just for adding notes
Link tickets: staff can link tickets between them (add links using the button from the
quick actionsdropdown on top-right side of a ticket)Edit/delete comments and attachments: staff users can manage all comments and attachments for tickets. A small note will be added at the bottom of the message for staff users to see when was the last edit done and by whom
Ticket updates
When a certain action is taken on the ticket, updates appear between messages.

They appear on ticket status updates, when changing assignee, associated client, changing description, etc.. (though some updates are not available for end-users).
Ticket attachments
You may want to change a few settings regarded to attachments. You can edit/set these variables in the settings.py
file:
ATTACHMENTS_DIR: directory where attachments will be saved
MAX_TICKET_ATTACHMENT_SIZE: the maximum file size (in bytes) allowed to be uploaded for ticket attachments
FREE_DISK_SPACE_LIMIT: ticket attachments upload won’t be allowed if the free space left on device (in bytes) will be smaller than this setting after upload
Default values for these are:
ATTACHMENTS_DIR = '/var/fleio/attachments'
MAX_TICKET_ATTACHMENT_SIZE = 26214400  # 25MB
FREE_DISK_SPACE_LIMIT = 52428800  # 50MB
Support tickets from incoming email messages
New support tickets can be created from email messages and replies to an existing ticket may be added based on received emails. See Configure incoming email pipe for tickets.
User signatures
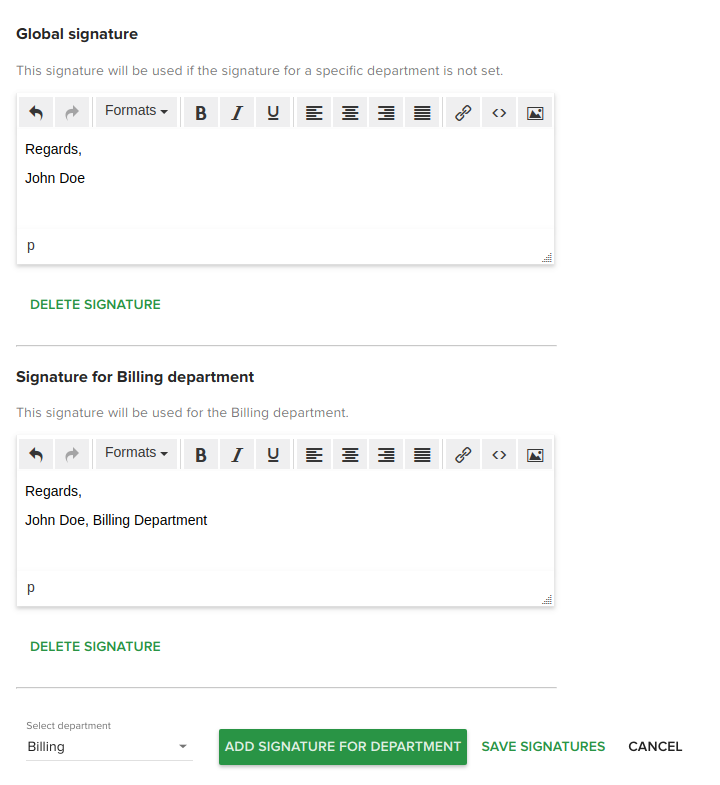
Staff users can manage signatures based on department. Those can be added/edited going to the My profile page and
clicking on Edit signatures button. The user is requested to add a global signature first then he can add custom
signatures for each department. After saving signatures, the textarea from ticket details page that is used for replying
to tickets will always be prepopulated with either the global signature if the ticket has a department for which the
user did not configure a custom signature or the signature associated with that certain department.
Ticket notifications
You can enable/disable notifications when editing the department (more on that below). You can also edit these message templates in the staff message templates page.
Configure ticket id
You can configure ticket id based on each department. When editing a department (more on that below) you can edit the ticket id format. Each ticket that is created and related to that specific department will have an id generated using that format. The format supports the following keys:
%Y(will display the year, e.g. 2019)%y(will display last 2 digits from year, e.g. 19)%M(will display month, e.g. 06)%D(will display day, e.g. 05),%h(will display hour, e.g. 12)%m(will display minute)%L(will transform into a random uppercase letter)%l(will transform into a random lowercase letter)%n(will transform into a random number between 0 and 9).
Besides these, you can use regular characters, prefixes, etc. Some ticket id formats may look like these:
‘T-%n%n%n%n%n%n’, ‘BILLING-%Y-%M-%l%l%l%l%l%l’. You are required to use at least 6 key values that will generate random
letters/numbers. However, you can change this requirement by editing the TICKET_ID_MIN_RANDOM_CHARS setting in your
advanced settings file, however we recommend using at least 6. If the ID cannot be
generated using the format defined on the department (very unlikely if you follow the standard minimum of random keys)
it will use the fallback TICKET_ID_DEFAULT_FORMAT setting that you can change in the same advanced settings
file. This default format is composed of 6 random numbers.
Departments
Departments list page
The ticketing system allows you to organize support tickets by departments, breaking down support effort to different teams. On each department, you can assign rights and notifications rules for each staff user.
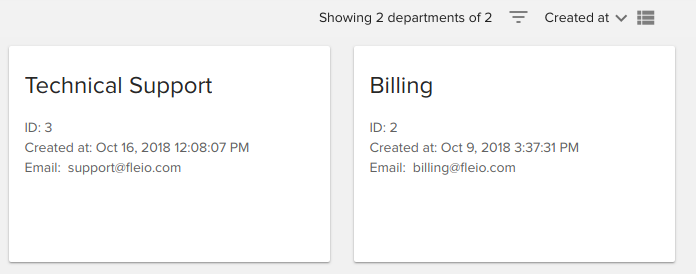
Hovering over a card will show the edit and delete action buttons related to that specific department.
Departments create/edit and manage notifications
You can add a new department clicking the (+) button from the bottom right side of the screen:

A form like in the following image will be shown.
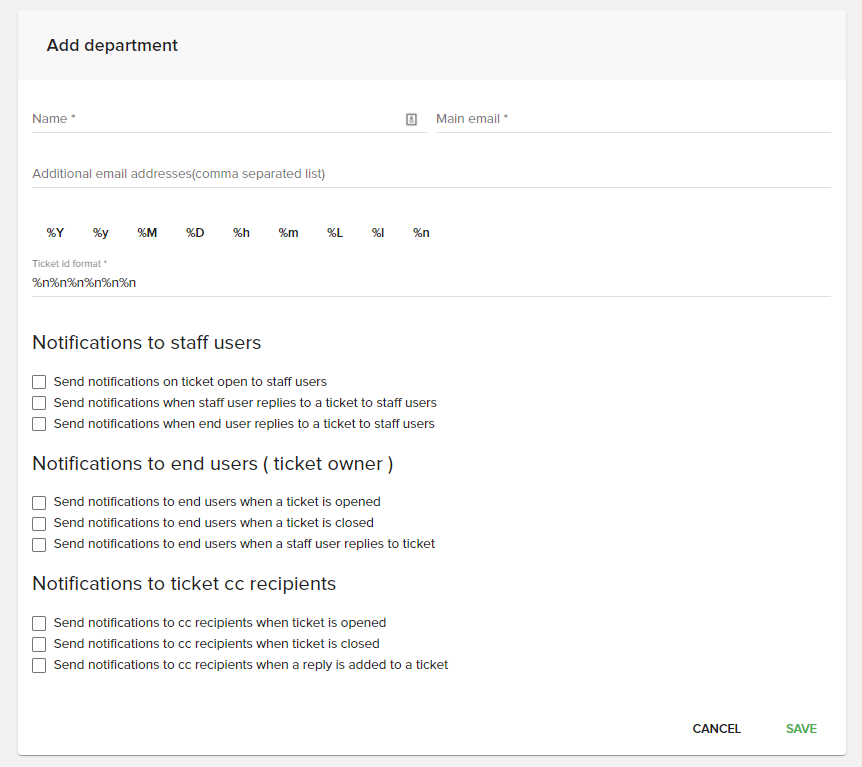
The “Main email” is used in the “From” field of the email messages sent by the ticketing system.
“Main email” and “Additional email addresses” are used to identify the target support department of an incoming email message.
To have incoming email messages recorded in the support ticketing system, see Configure incoming email pipe for tickets.
Ticket ID format will allow you to change the ID format of each created ticket and related to the specific department. More on that here: Configure ticket id.
The checkboxes listed underneath the input fields will let you configure which kind of notifications to send and to whom. Each ticket will have the associated department notifications configuration.
Predefined replies
Predefined reply category
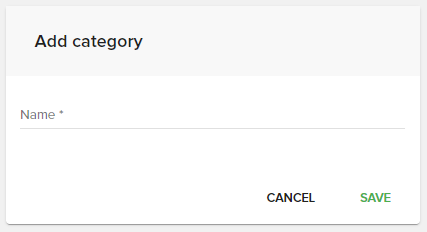
In order to create predefined replies you will have to create categories. To create a new category, press the “+” sign in the bottom-right corner.
Predefined reply
To create a new predefined reply, you will have to access a category, and then press the “Add new predefined reply” button.
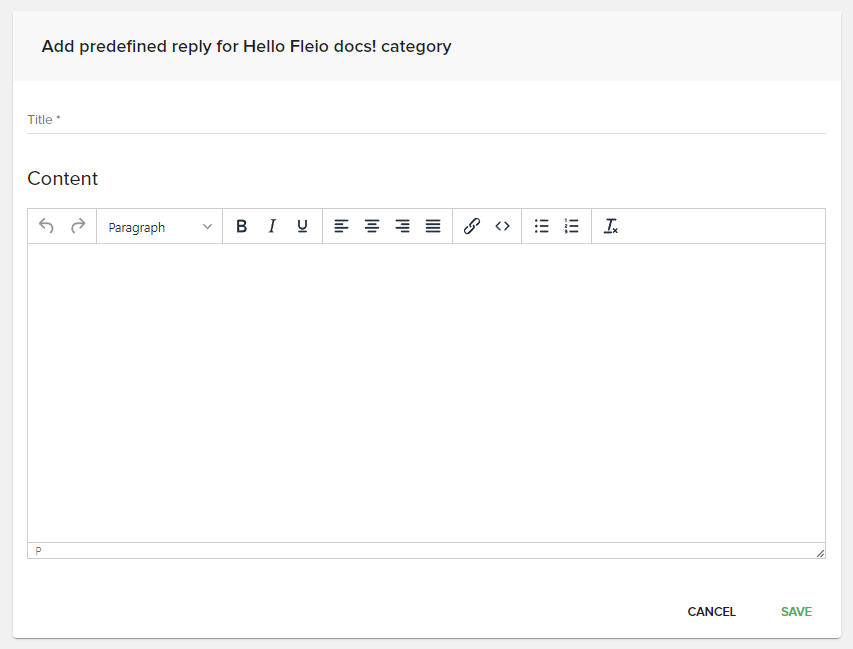
A predefined reply can be inserted when creating a new ticket, or when adding a reply to the ticket, by clicking the “Insert predefined reply” button..
Note
The predefined replies are only available in the staff panel.