End-user / Cloud / Volumes
In this page, you can do as follow:
Create new volume
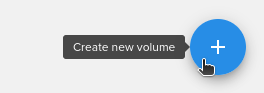
To create a new volume go to Volumes from the Main Menu and then to Create new volume (bottom right):
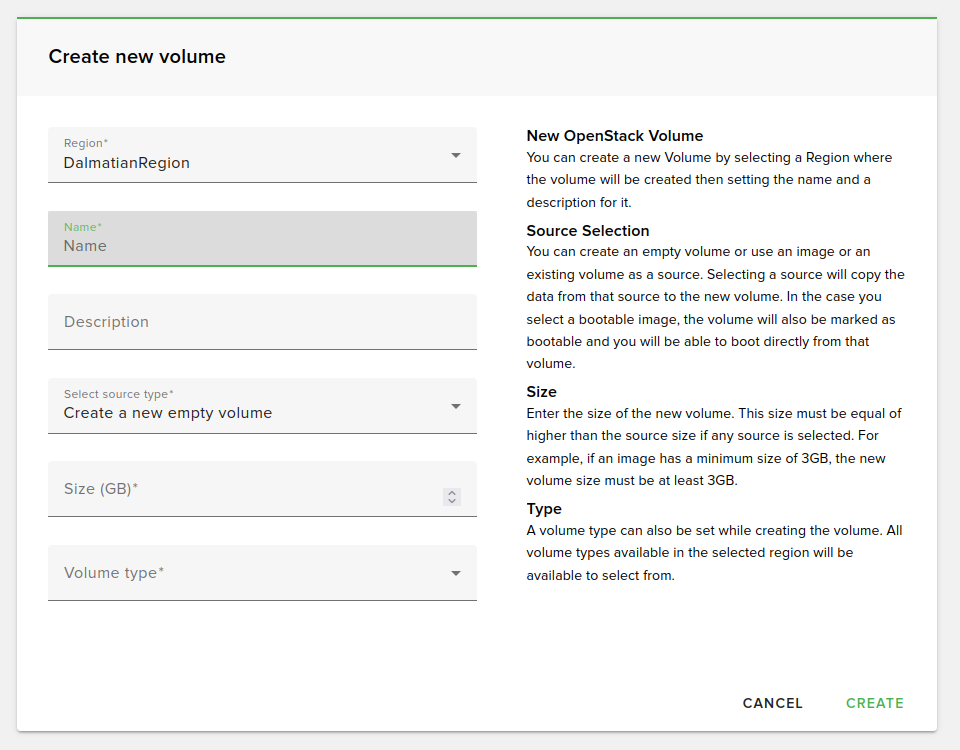
A create new volume form will open, and you will need to fill in the following fields:
Search volume
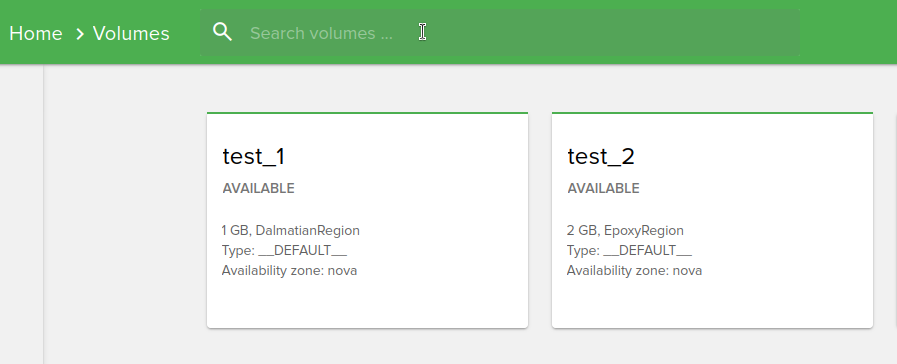
To search a volume, just type the volume name in the search box from the top of the Volumes page:
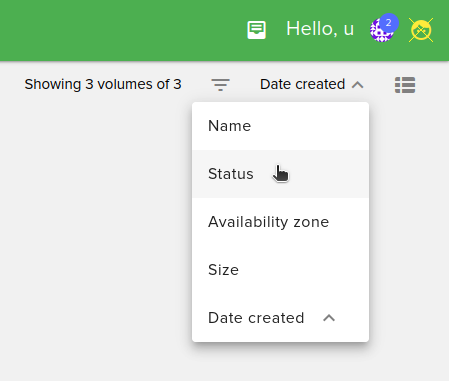
Sort volume
From the top-right of the page, you can sort instances by:
Name
Status
Availability zone
Size
Date created
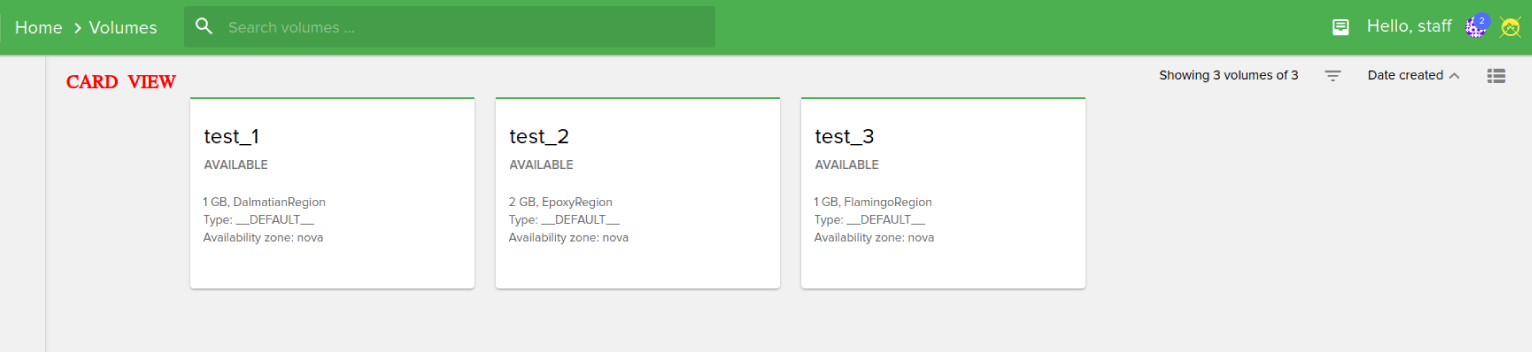
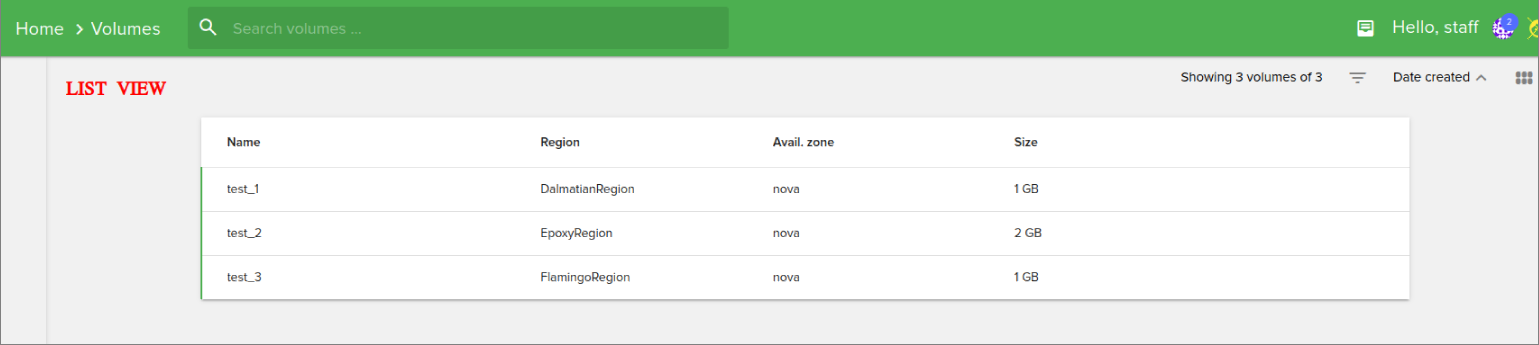
Also, you can switch from Card View to List View by clicking on the grid from top-right. Examples are shown below:
Edit volume
To edit a volume, select it from your list and you can:
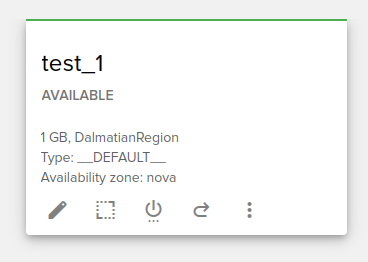
Rename
Extend
Edit bootable status
Revert volume to snapshot
Upload volume to image
Warning
Volumes cannot be shrunk, only extended.
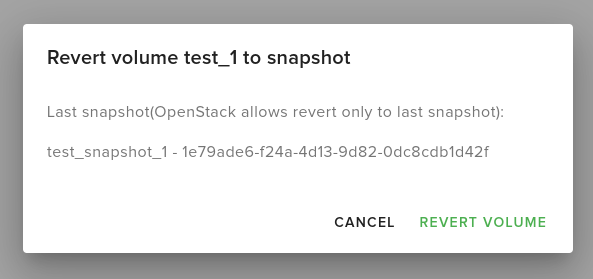
Revert volumes to snapshot
Select the volume you want to revert, then click the Revert to snapshot button.

The following dialog box will open:
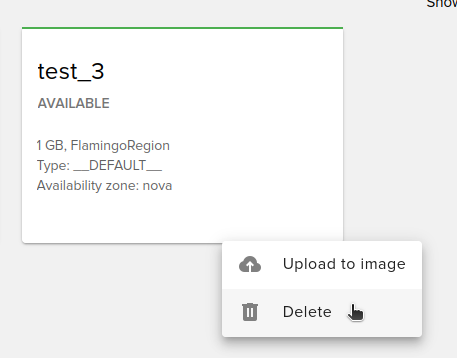
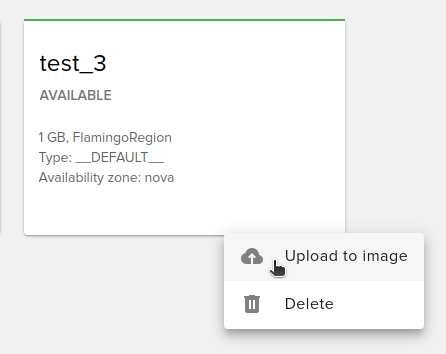
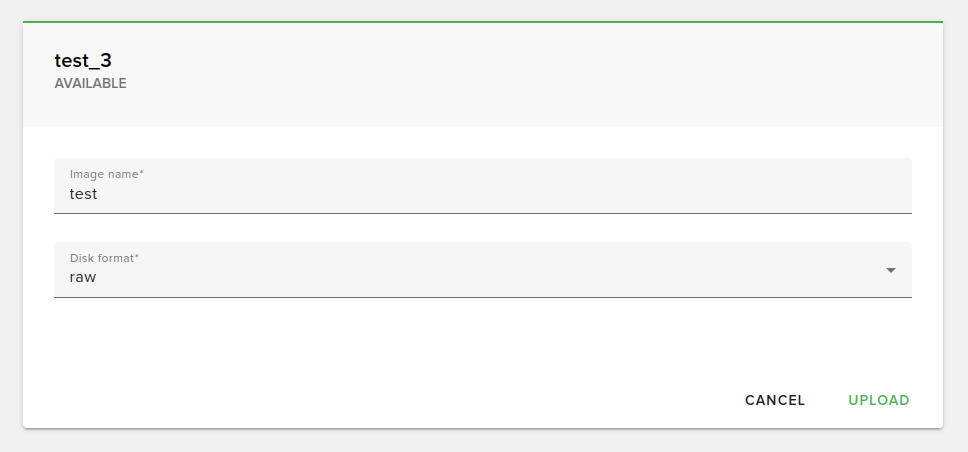
Upload volume to image
Select the volume you want to upload to image, then click the Upload to Image button.
The following form will open:
Delete volume
To delete a volume select it from your list and click the Delete button.