Staff / Clients & Users / Users
Users area
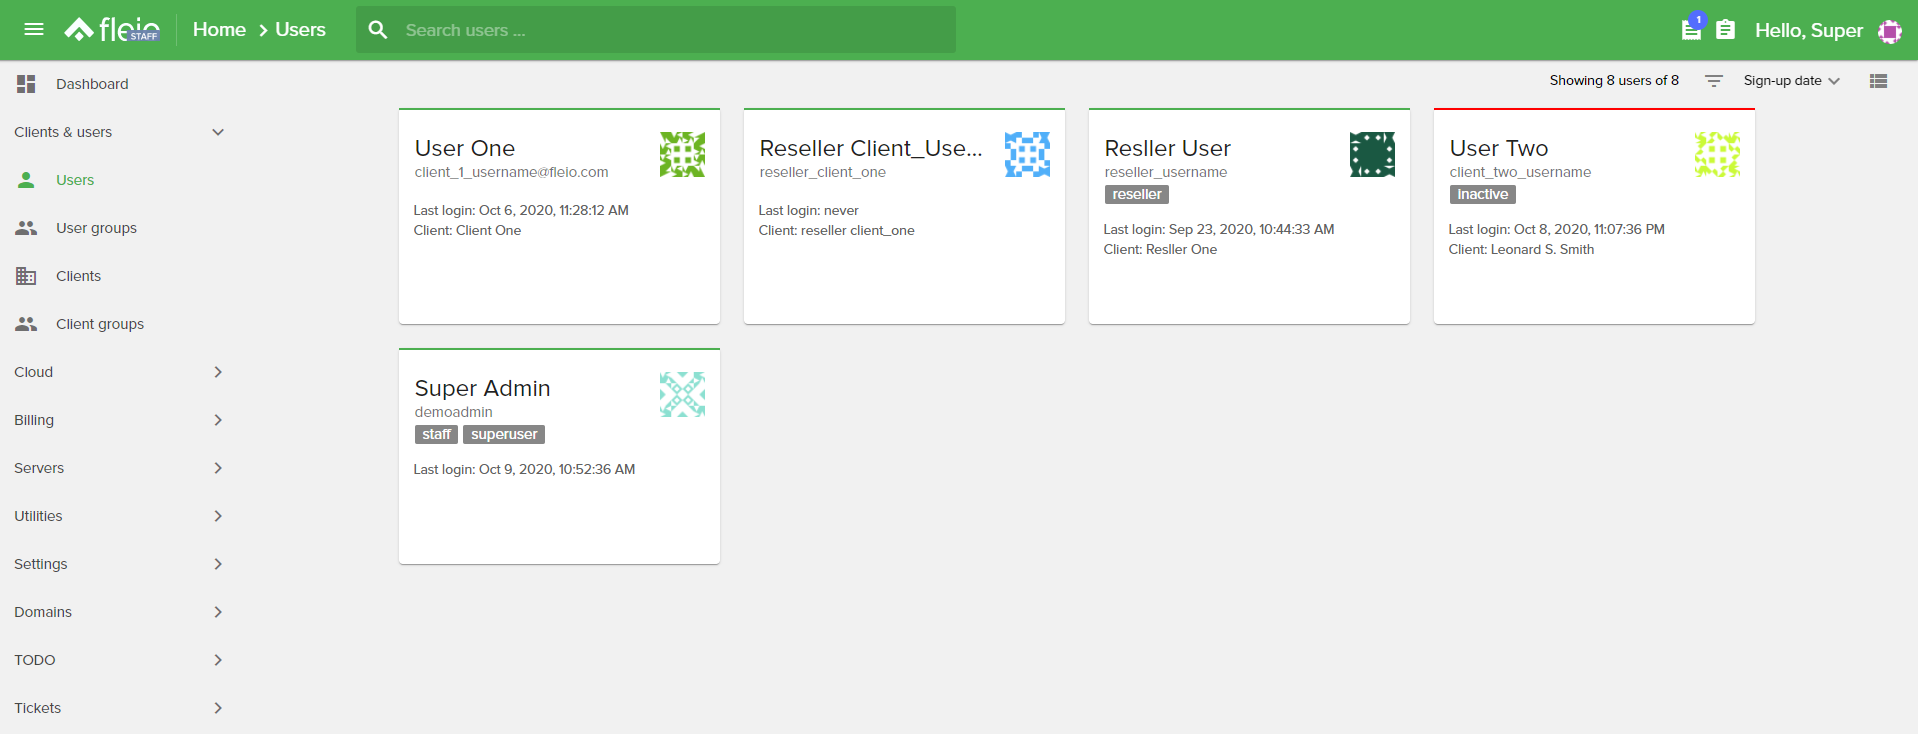
The users dashboard can be displayed in two different types of views:
Card view:
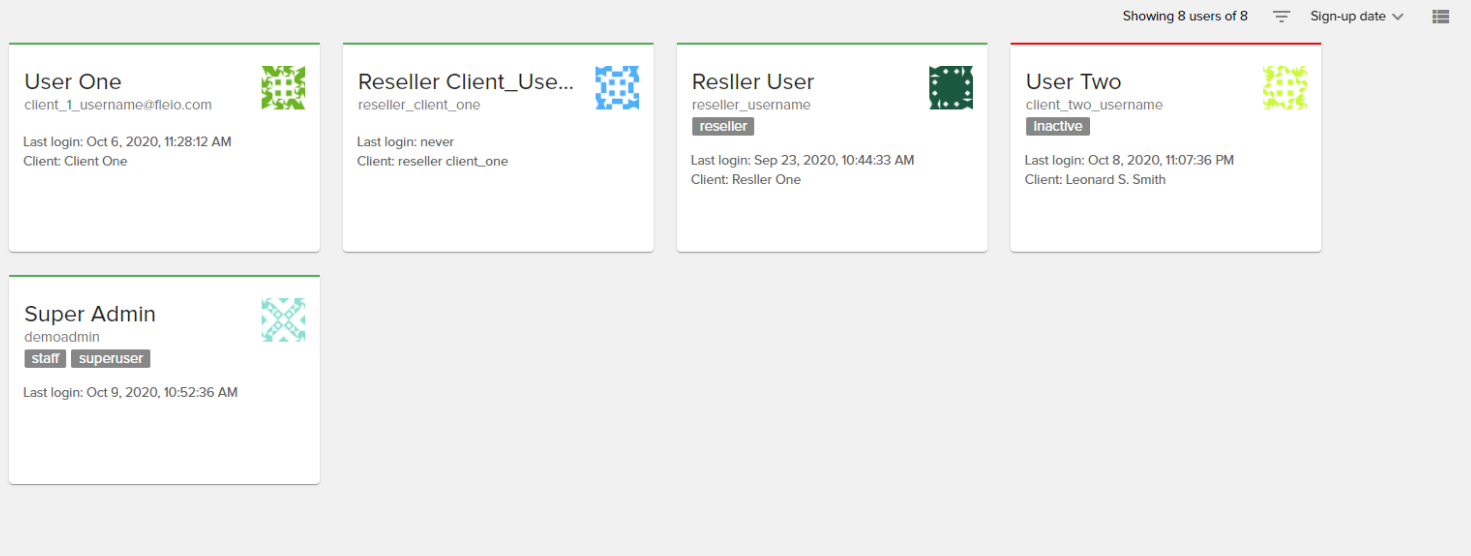
List view

An user can have one of the following statuses:
active (marked with green)
inactive (marked with red)
You can filter them by:
Date joined
Last login
Is active
Is staff
Is superuser
User group
You can also sort the clients by:
Last login
Sign-up date
Username
Email
To perform actions on an user, you just need to mouseover the desired user (both on card view and on list view) To see a detailed page about the user, click on his name.
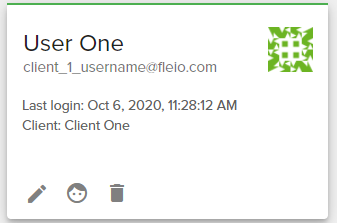
Actions
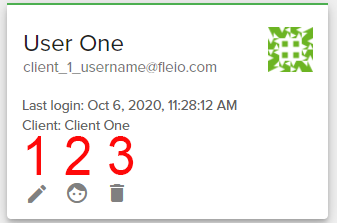
Edit user
Clicking the Edit user button (1) will display the following model

Impersonate user
Clicking the Impersonate user button (2) will redirect you to the impersonation page
Delete user
Clicking the Delete user button (3) will display a dialog where you can confirm the delete action
User details page
When clicking on the user card, you’ll get redirected to a page with detailed information about the user
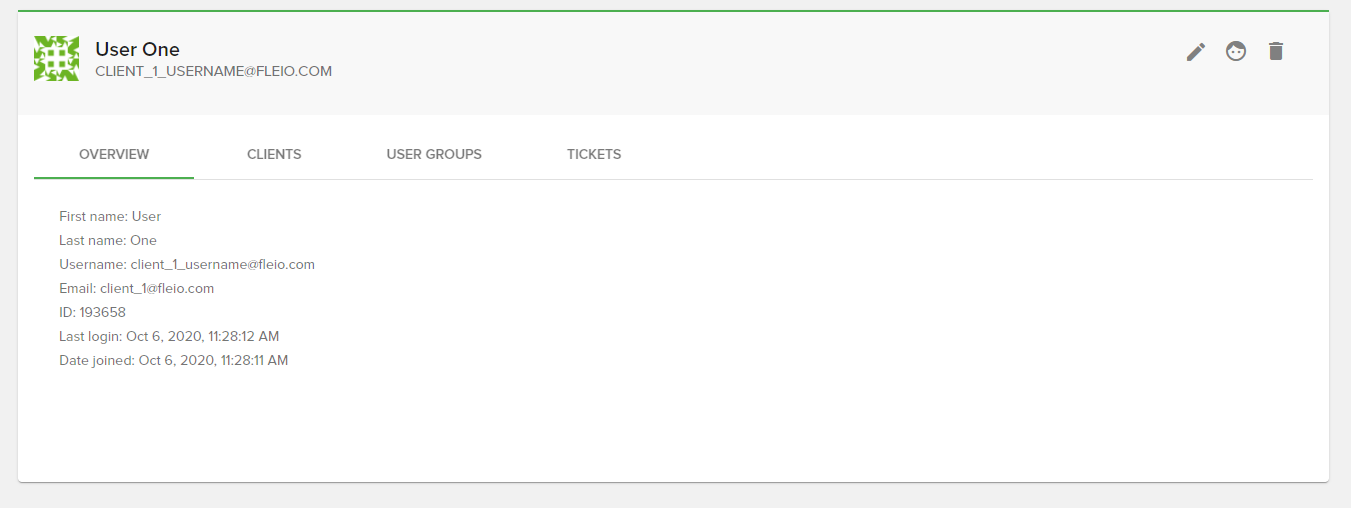
Overview
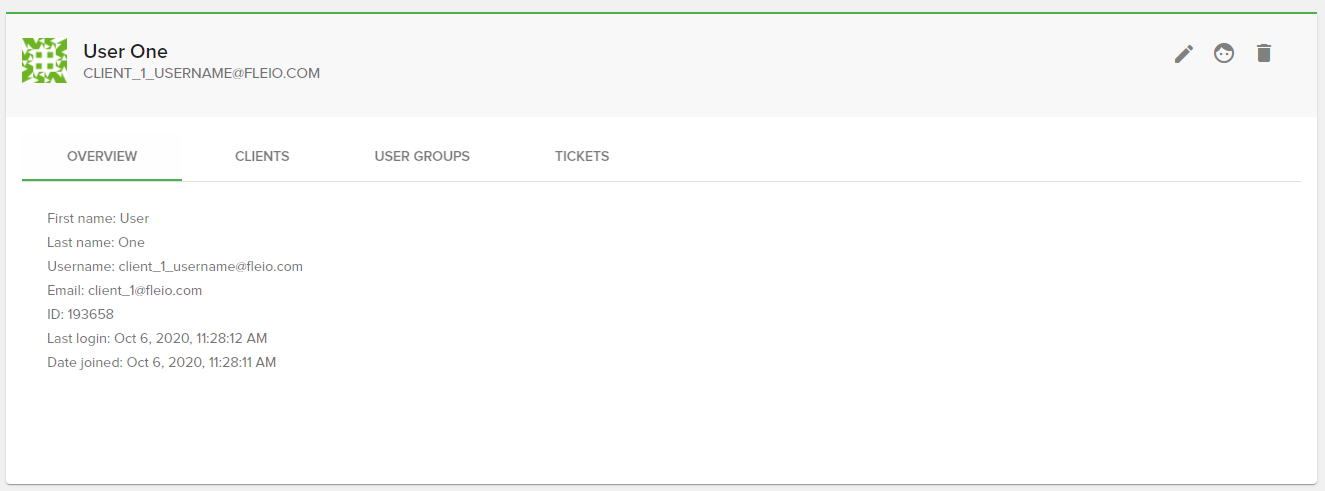
Here you can see the user’s details such as first name, last name, username, email address, user ID, last login and join date.
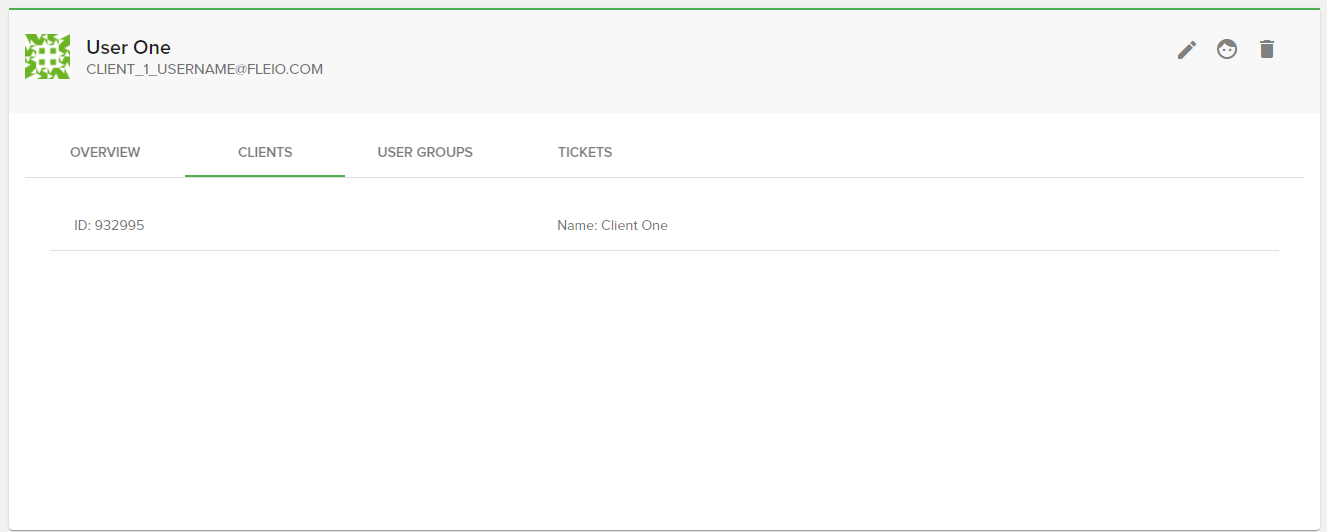
Clients
Here you can see a list of clients associated with this user. Clicking on the assigned client will redirect you to the client details.
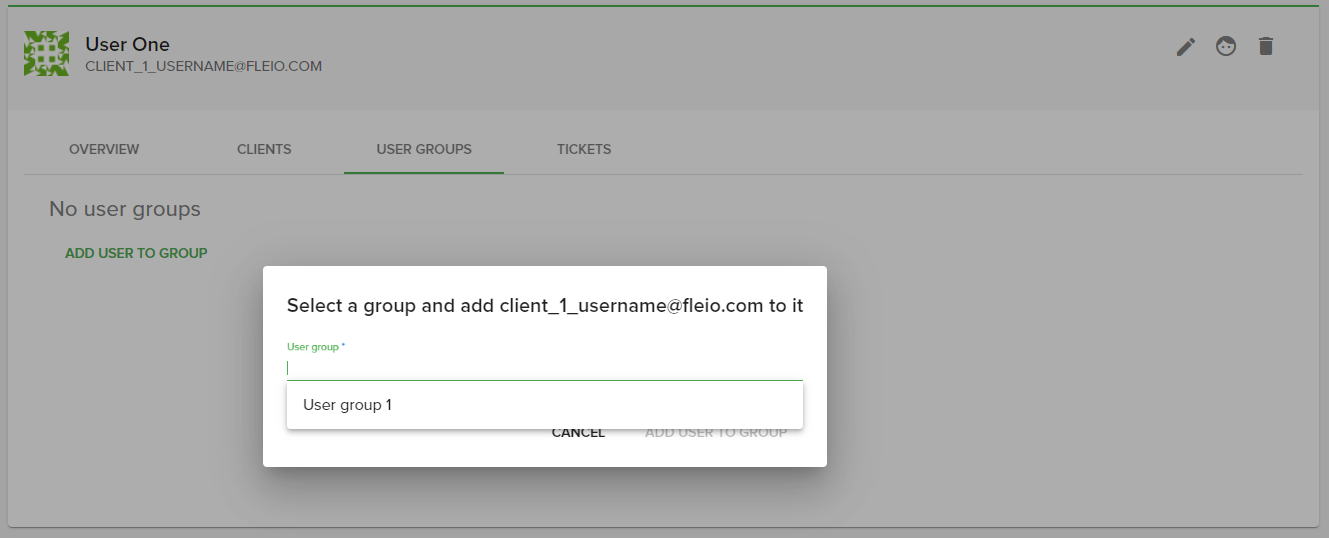
User groups
Here you will be able to manage the user’s group. You can add the user to a group or to remove the association to the group.
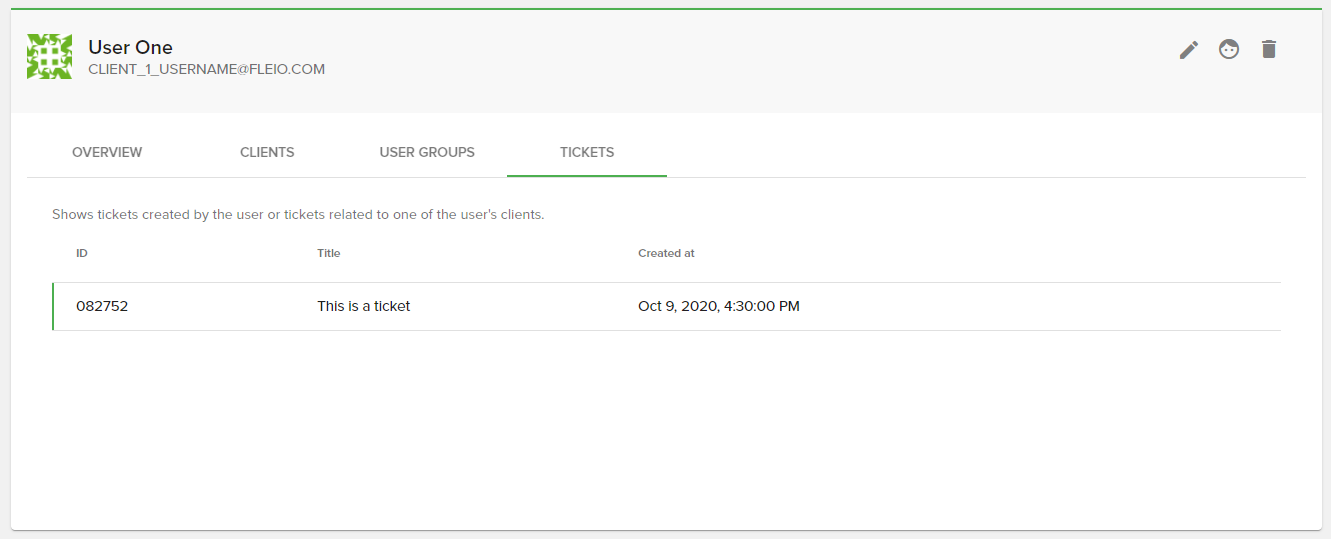
Tickets
Here you will be able to see what tickets are associated to the user. Clicking on a ticket will redirect you to thedesired ticket.
