Staff / Cloud / Zones
Important
You need to have Designate Openstack service installed and configured in order to use the Fleio DNS zones feature.
Zones dashboard
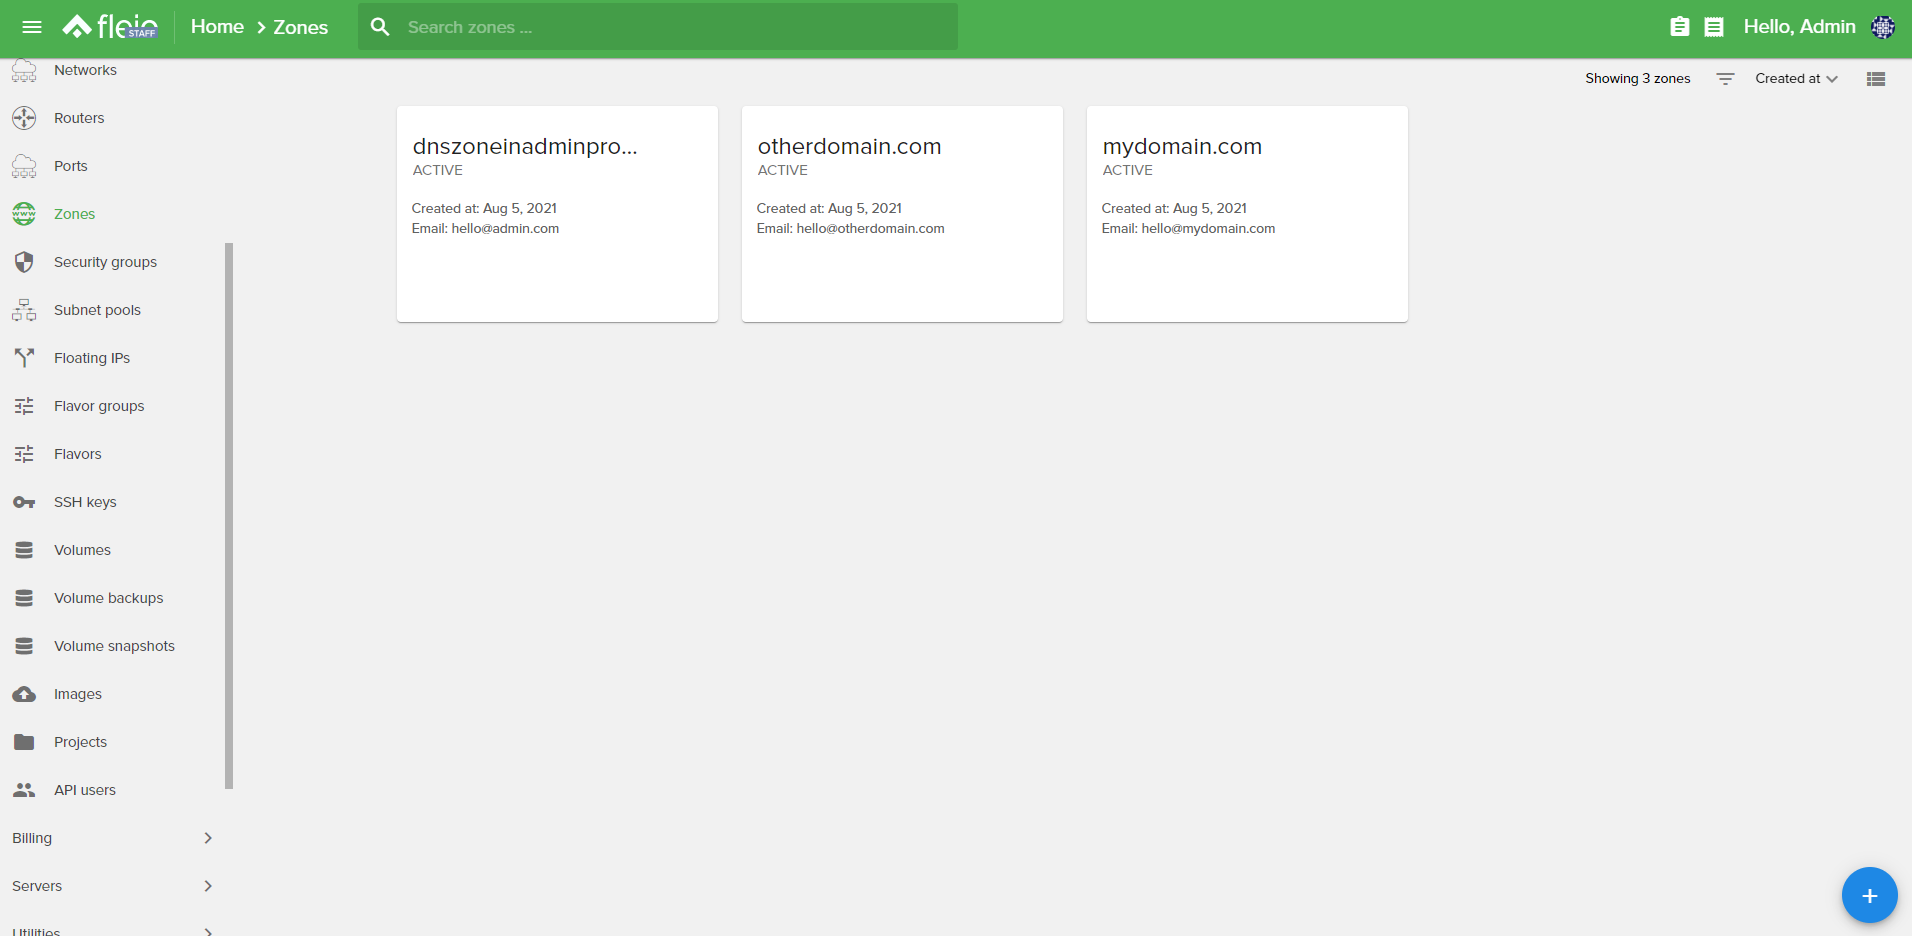
The Zones dashboard can be displayed in two different types of views:
Card view

List view

Filtering zones
As a staff user you can filter the Zones by Clients:

Sorting zones
The zones can be sorted by the following criteria:
Name
Serial number
Status
Created at
Updated at
Create a DNS zone
To create a new zone you need to click on the blue plus sign located at the bottom right part of the page:

The create new zone will allow you to:
create DNS zone in admin project (requires proper permissions)
create DNS zone in client’s project
Create DNS zone in admin project
While creating a DNS zone in the admin project you will notice that the Client selection dropdown will be hidden.
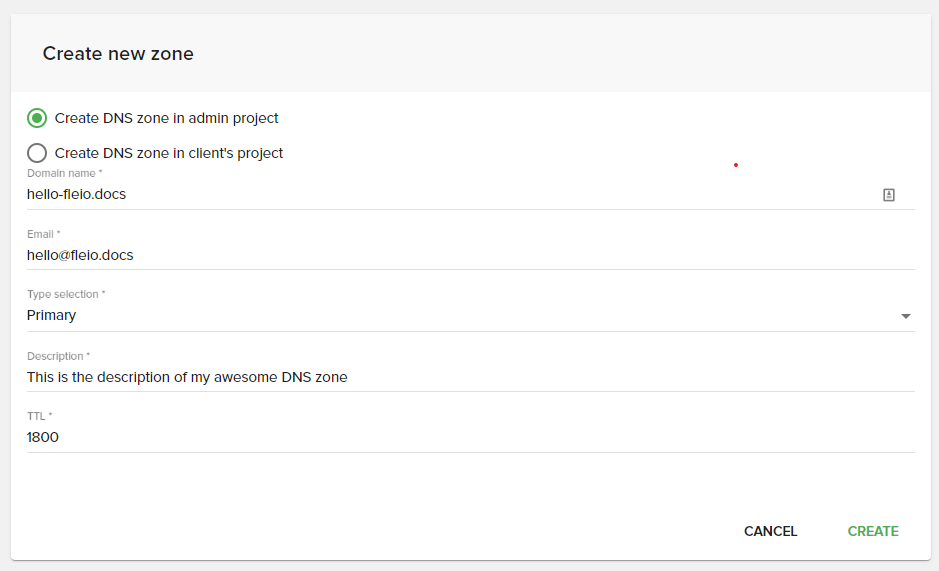
To be able to create the DNS zone you will be required to complete:
Domain Name: must be a fully qualified domain name
Email address: must be a valid email address
DNS zone type (can be either primary or secondary)
Description
TTL
Create DNS zone in client project
To create a new DNS zone in a client’s project, you will first have to select the Client by using the client selection dropdown.
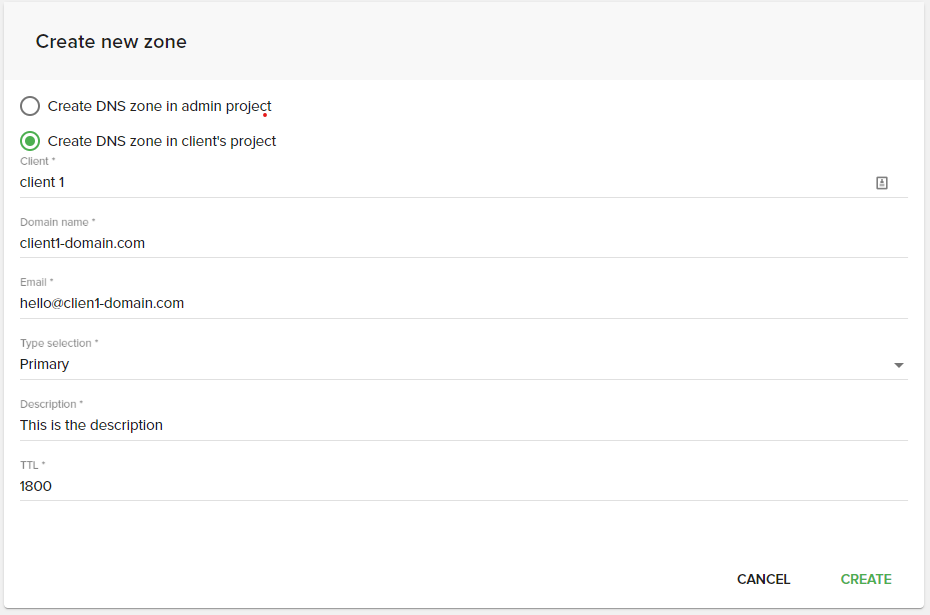
The following fields must be completed in order to add the DNS zone:
Domain Name: must be a fully qualified domain name
Email address: must be a valid email address
DNS zone type (can be either primary or secondary)
Description
TTL
Edit DNS zone
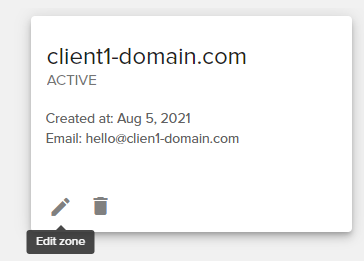
To edit a DNS zone you need to click on the Edit zone button:
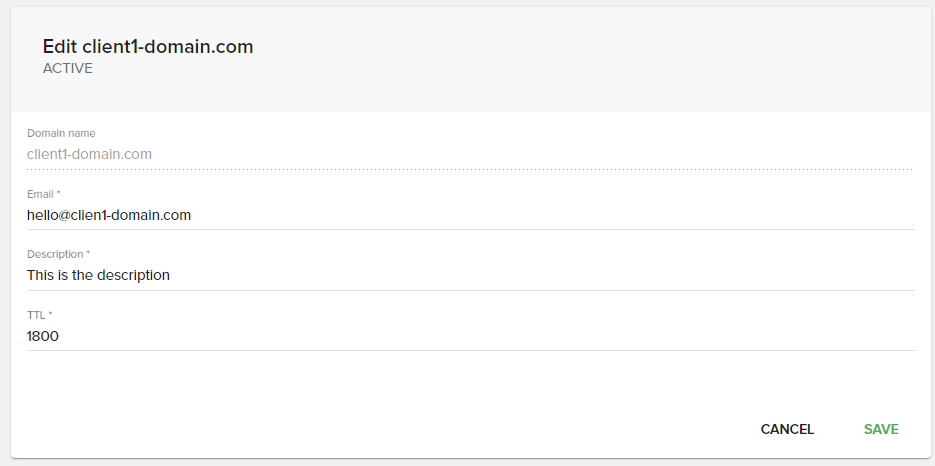
Editing a zone will allow you to change:
Email address
Description
TTL
Zone details
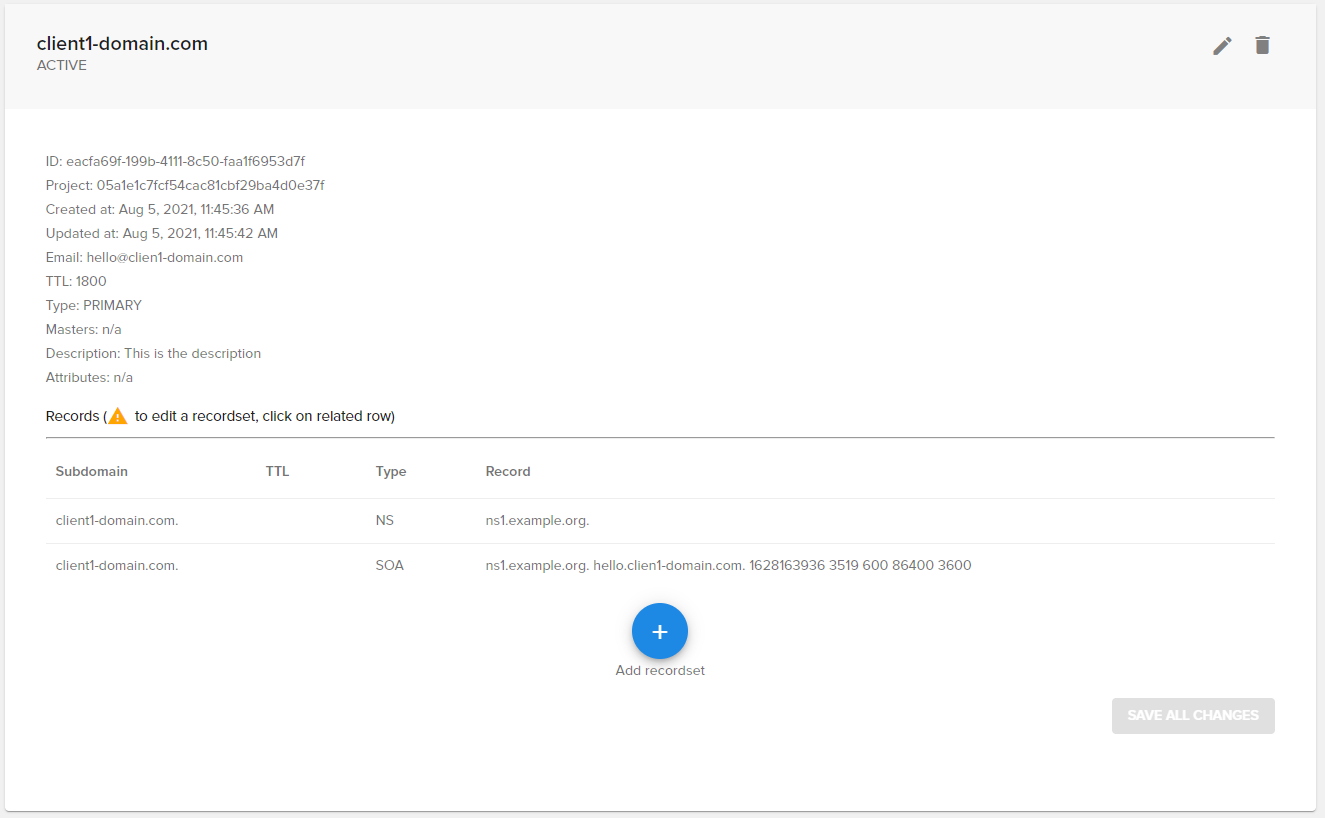
When you access a zone, you will be available to:
- see the zone information, such as:
zone ID
project
created at
updated at
email
TTL
type
masters
description
attributes
records
add new records
edit records
To add a new recordset you need to click on the Blue button. This will add a new row on your zone, with the following fields:
subdomain
TTL
record type
record
To add multiple records on a recordset, you can press the + sign at the end of the row:

To edit a recordset, you need to click on the desired row. This will open the edit form for that recordset.
To delete a recordset, you need to also click on the desired row. Then you can press the delete record button:

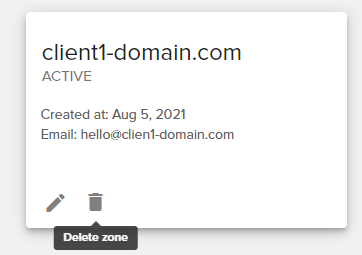
Delete zone
To delete a zone you need to click on the Delete zone button.
