Staff / Cloud / Projects
Projects area
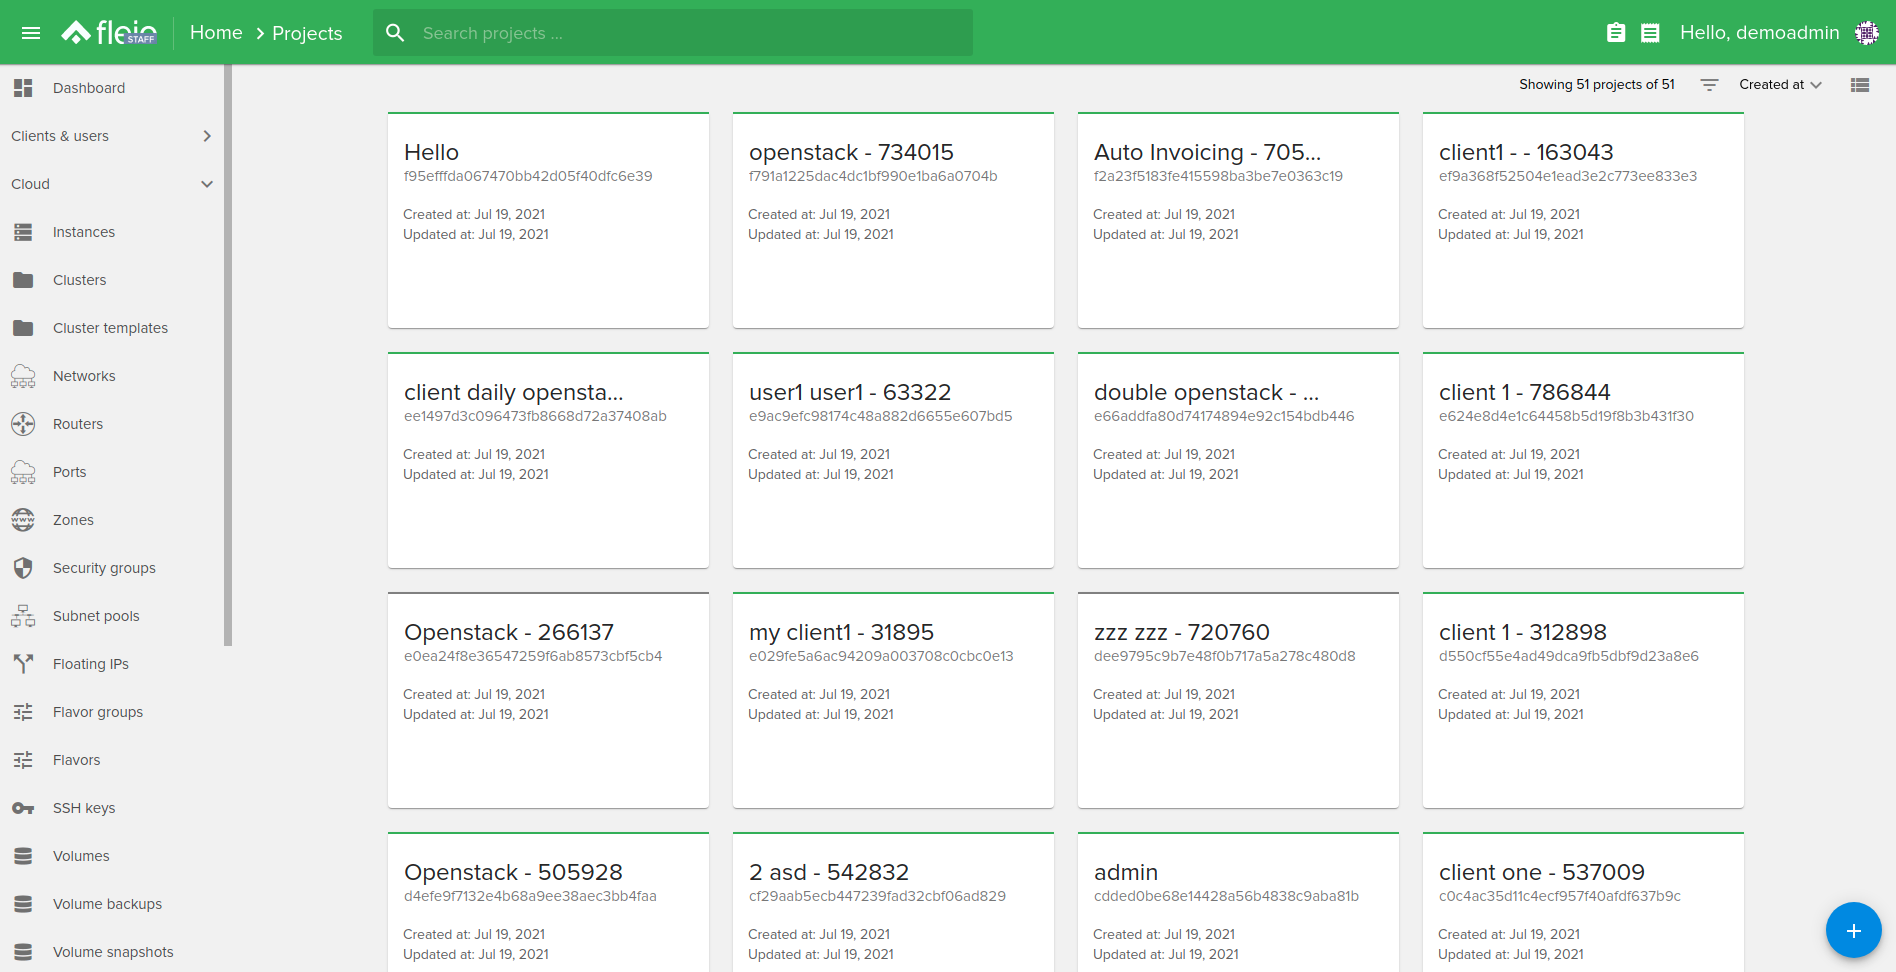
The projects dashboard can be displayed in two different types of views:
Card view:
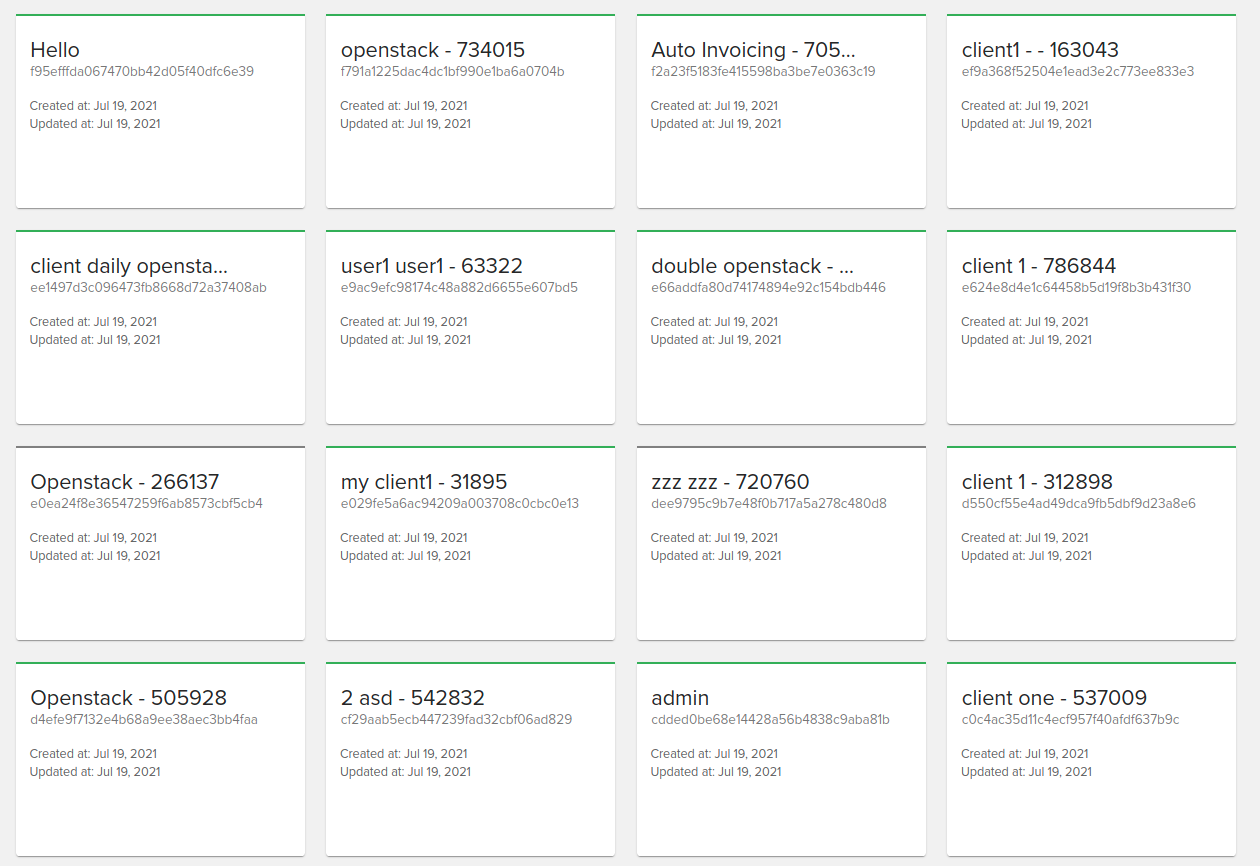
List view
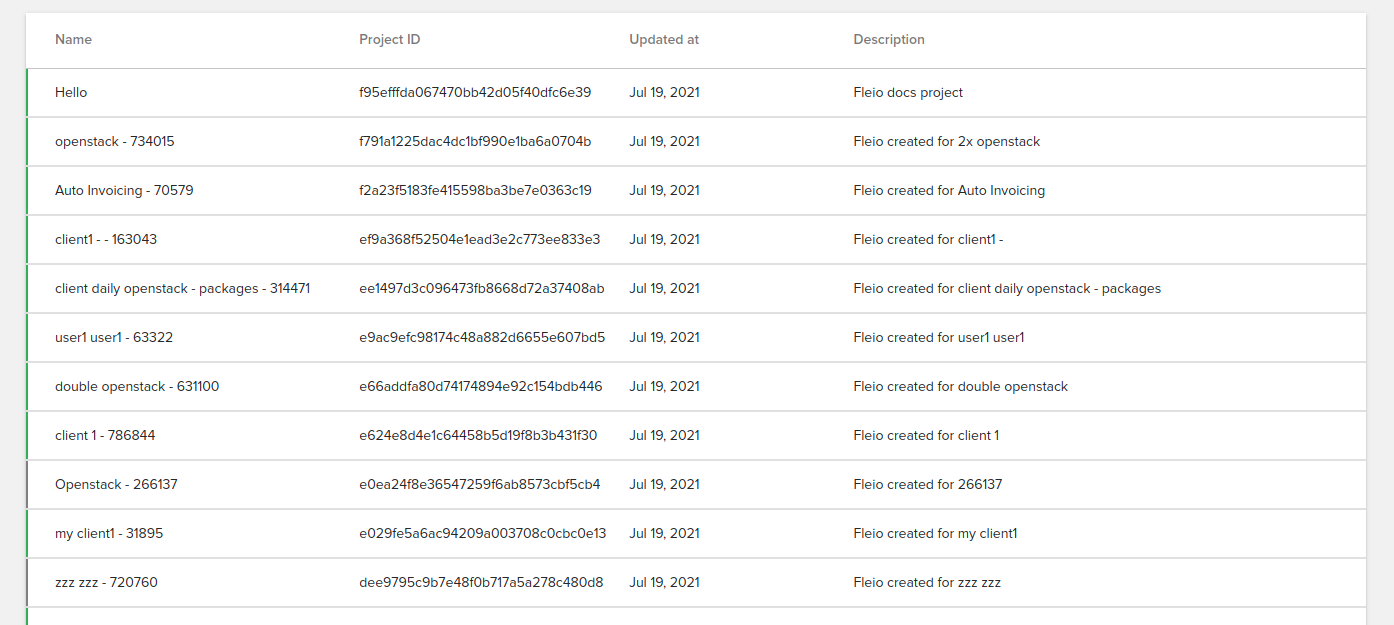
A project can have one of the following statuses:
active (marked with green)
disabled (marked with grey)
You can filter them by:
created at
updated at
disabled
is domain
services count
You can also sort the projects by:
project id
project domain id
disabled
name
created at
updated at
To perform actions on a project, you just need to mouseover the desired project (both on card view and on list view) To see a detailed page about the project, click on the desired project.
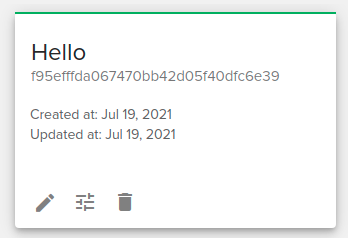
Actions
Edit project
Clicking the edit project button (pen icon) will display the following model
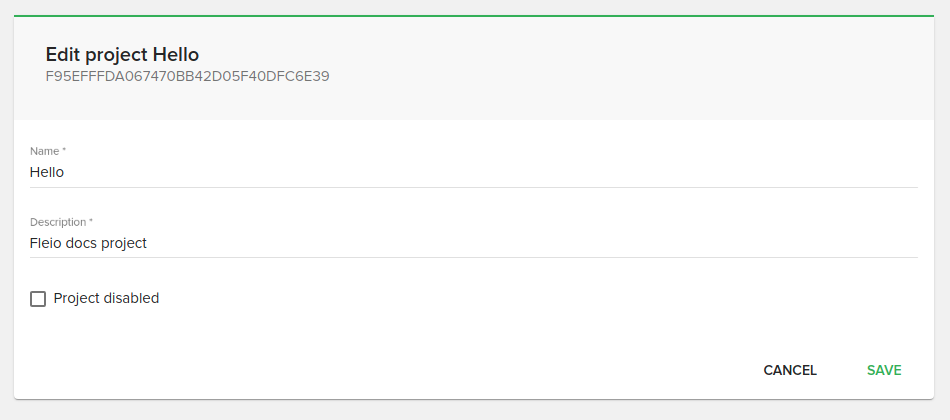
Here you can edit the project name, description, and status.
Edit project quota
Clicking the edit project quota button (middle icon) will display the following model
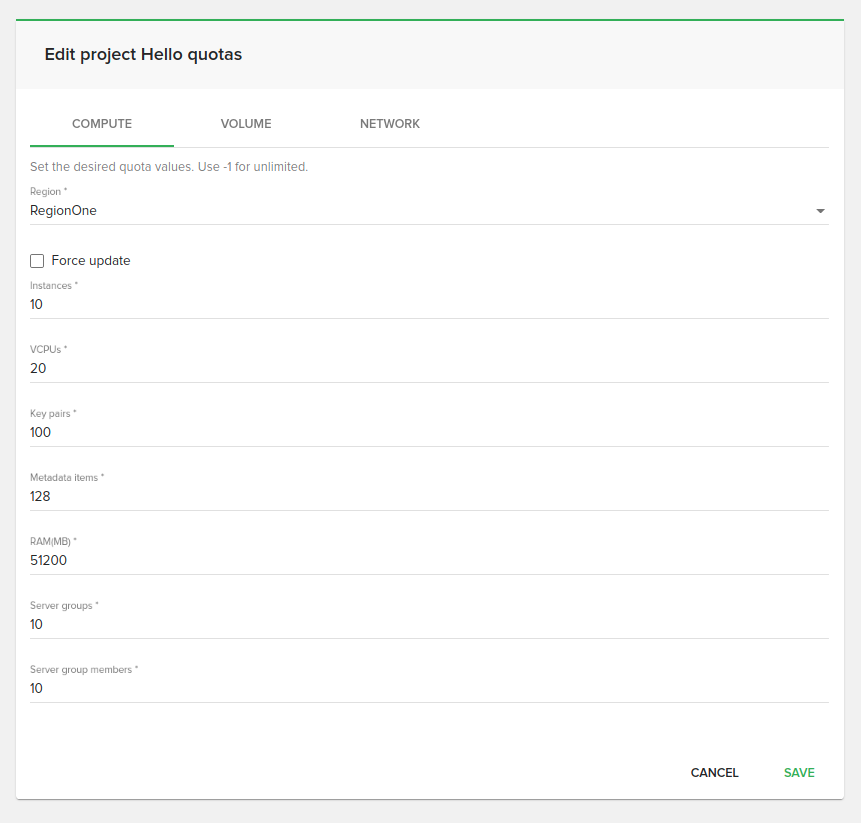
As you can see, you can configure quotas for compute, volume and network, on each region.
If you want to allow unlimited instances for example, you can configure the quota to “-1”.
Use the force update flag if the quota has already been used and the reserved quota exceeds the new quota.
Delete project
Clicking the delete project button (third icon) will display the following confirmation dialog
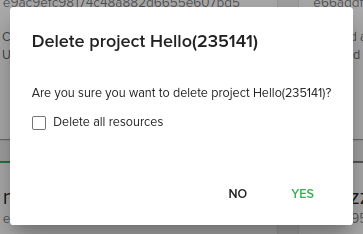
Warning
Checking the “Delete all resources” flag will delete all the OpenStack resources that are associated with the project. This action is irreversible.